")
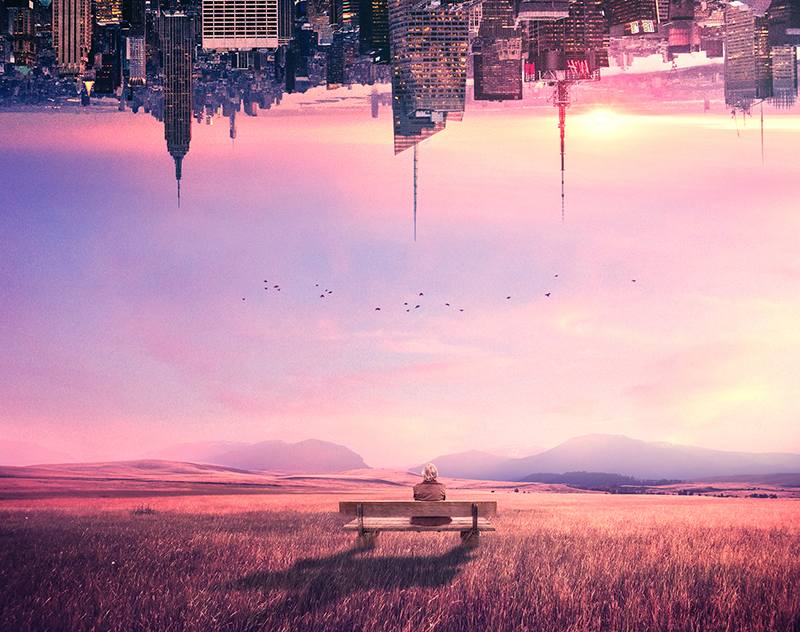
How to Create a Sci-Fi Space Scene in Photoshop (Step-by-Step Guide)
You’ll learn how to combine a space background with planets, add shadow and light, enhance the color, and more.
Tutorial Details
- Program: Photoshop CS3+
- Estimated Completion Time: 60 minutes
- Difficulty: Beginner/Intermediate
Resources
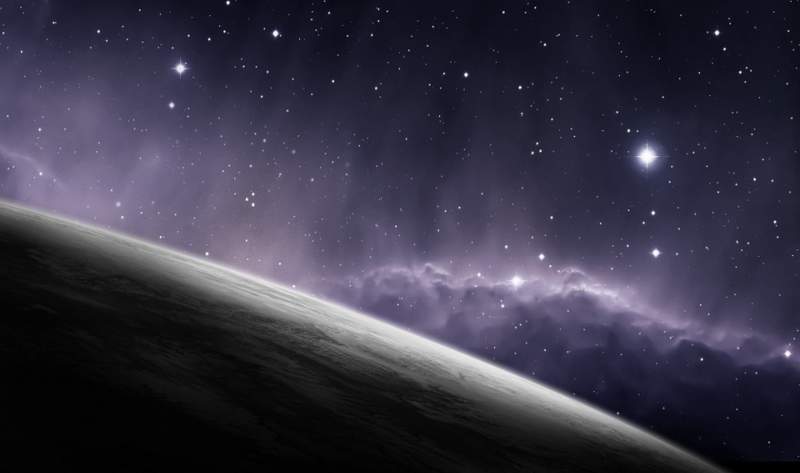
Step 1
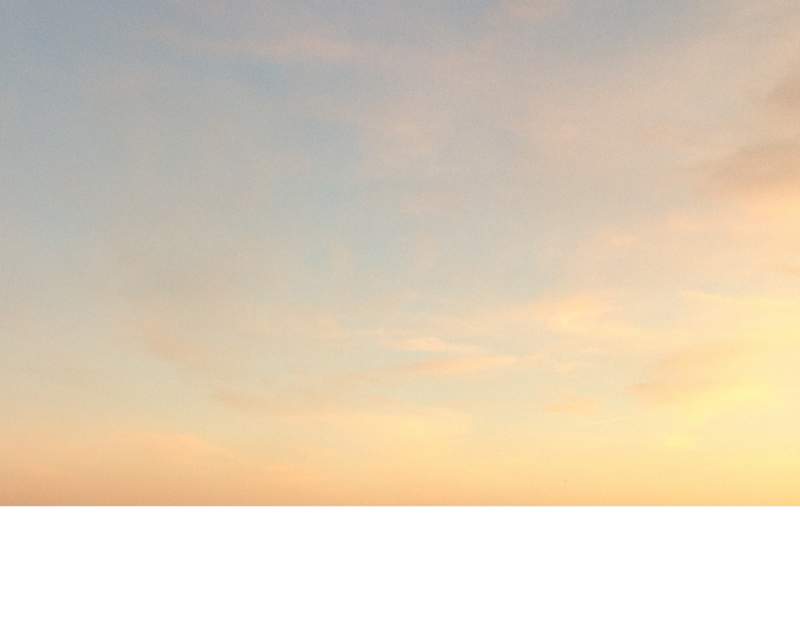
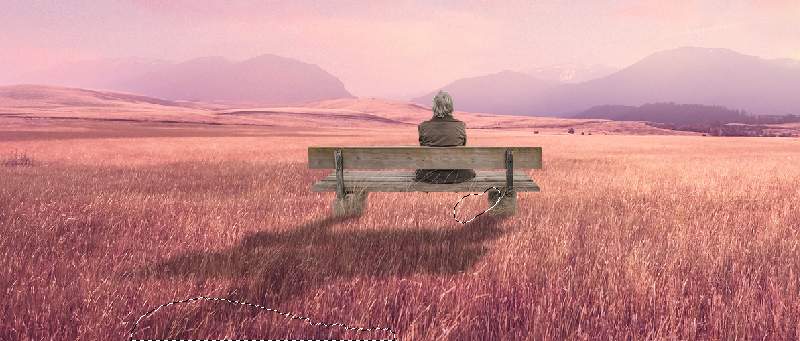
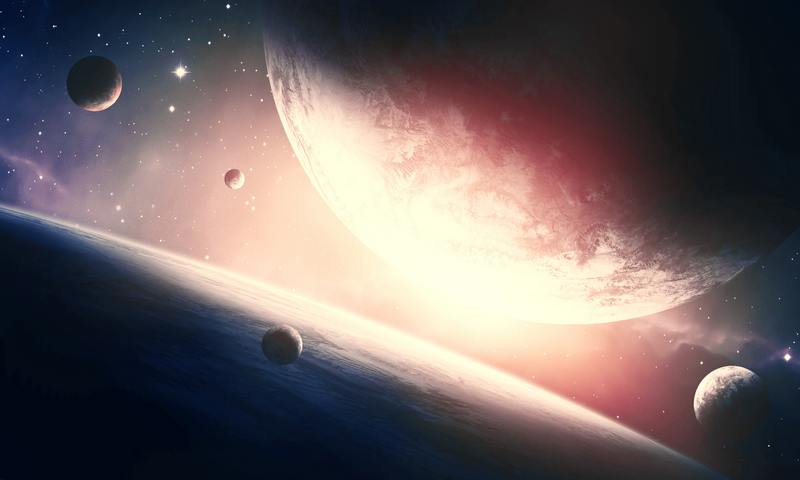
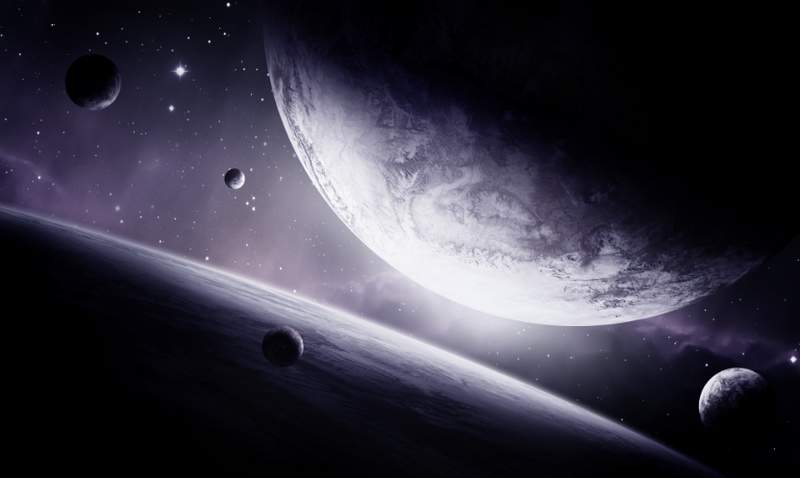
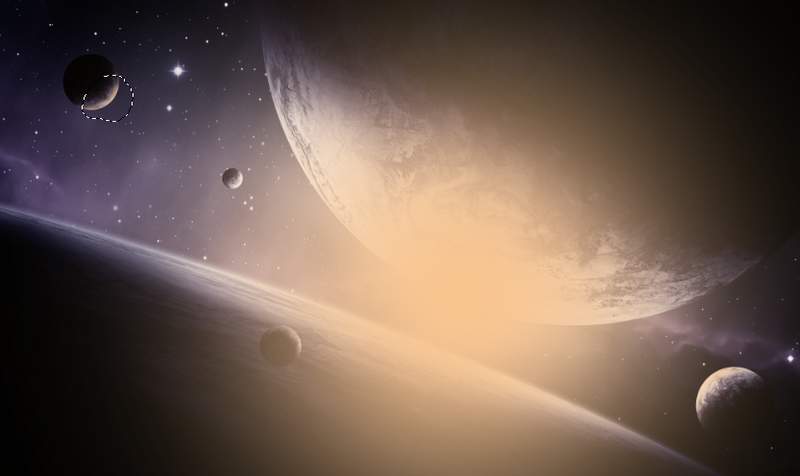
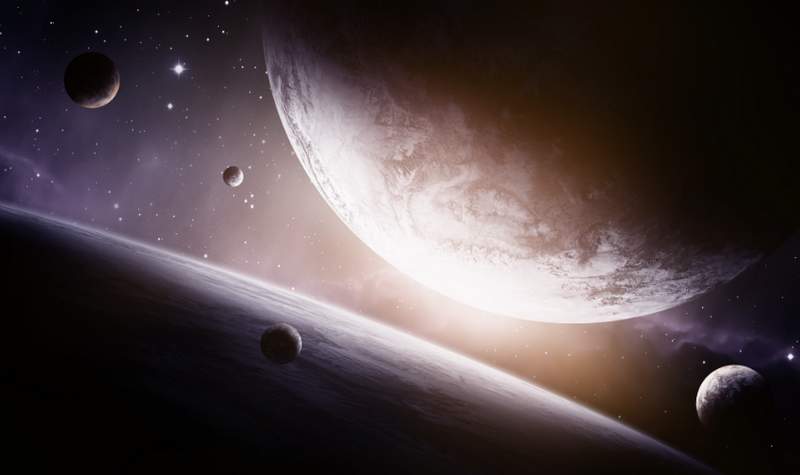
Create a new 2000×1200 px document in Photoshop and fill it with black. Open the background image and drag it into the black canvas using the Move Tool (V).

Step 2
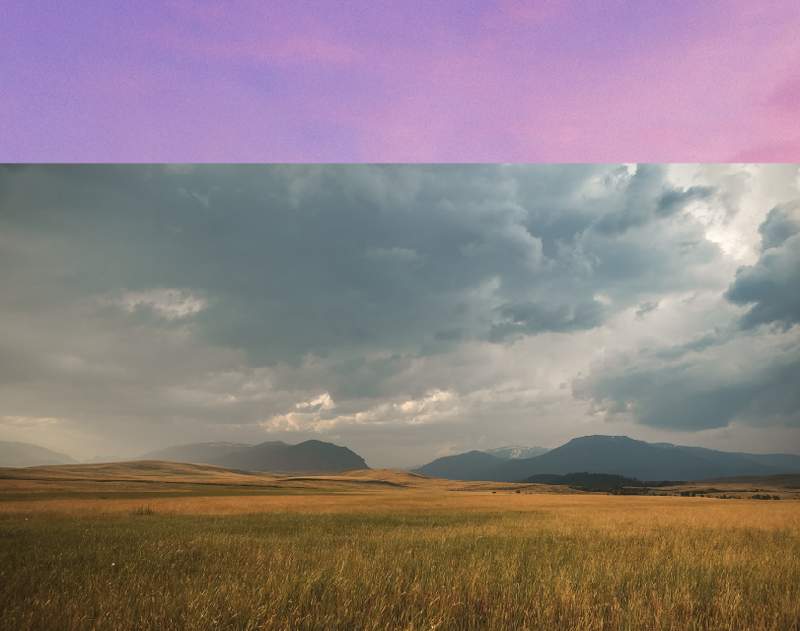
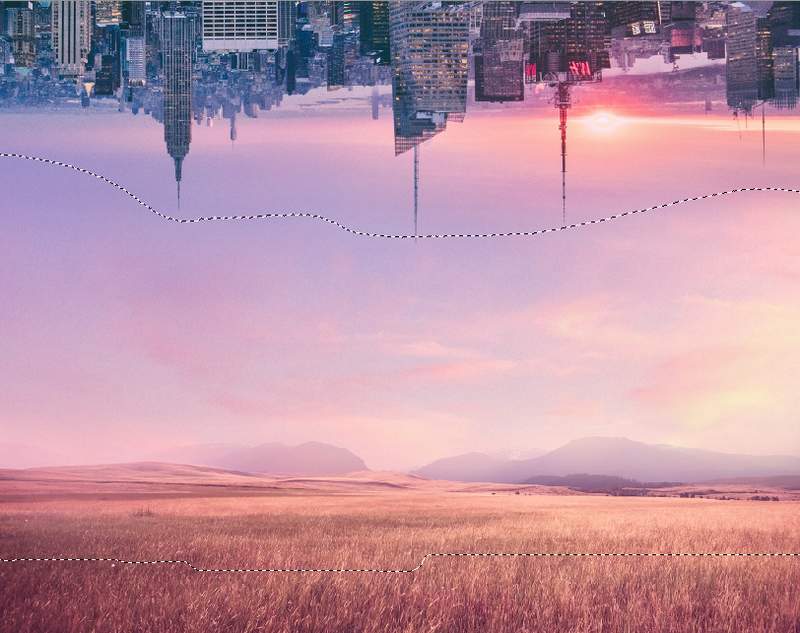
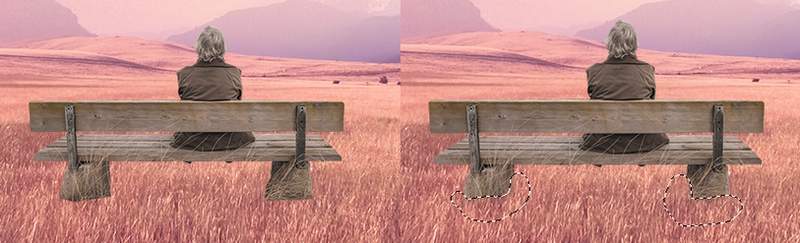
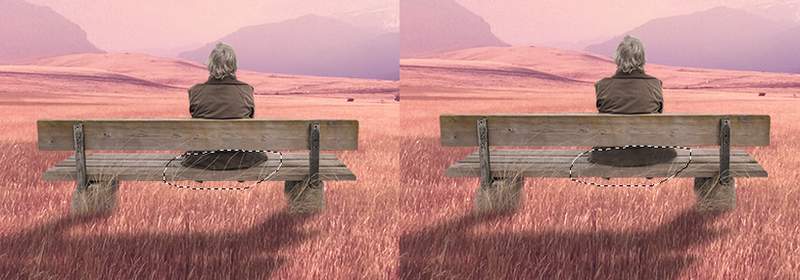
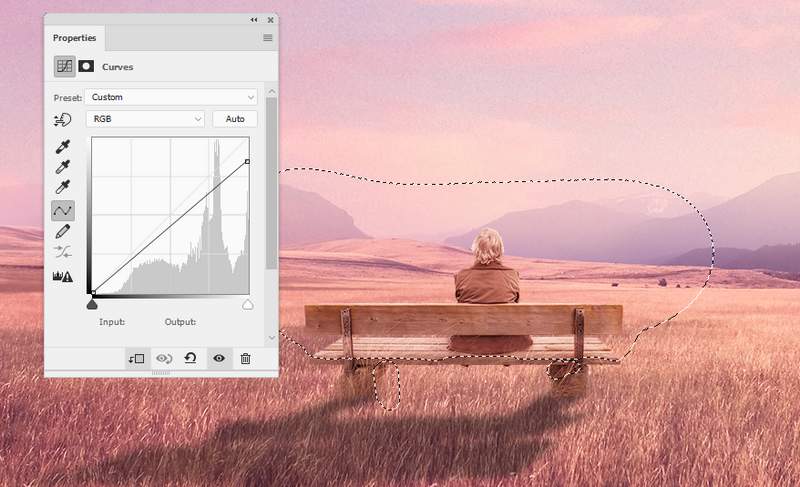
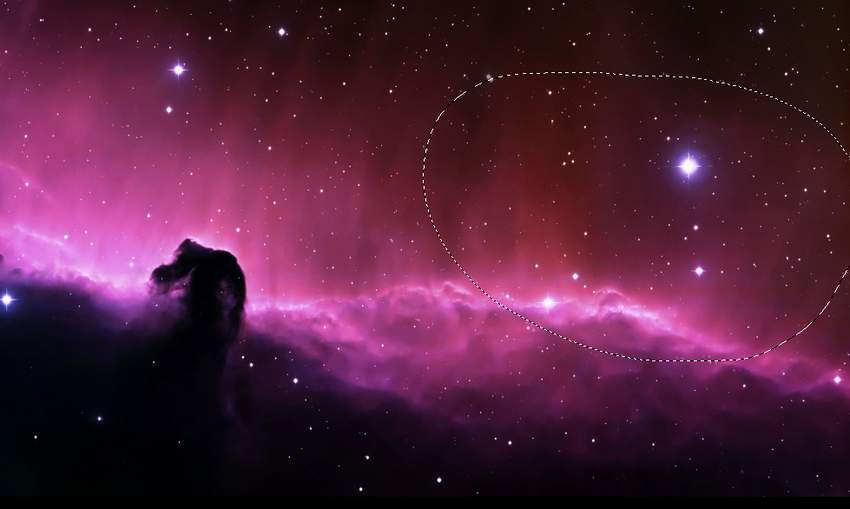
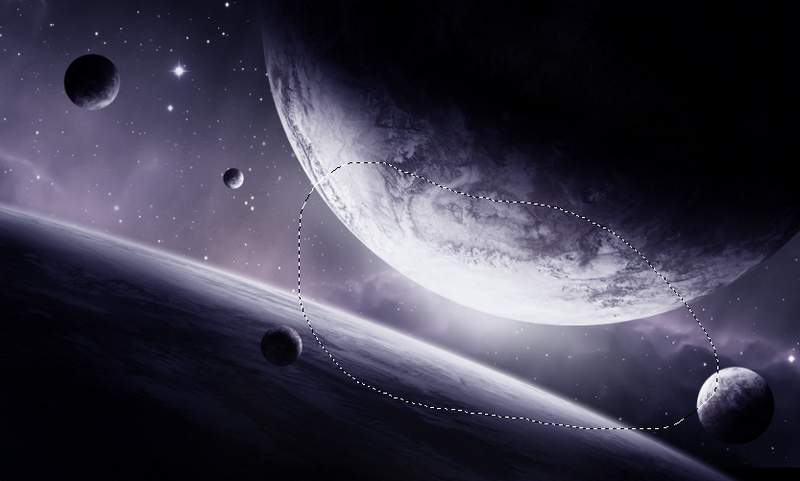
This selected detail will distract the final effect so it should be removed.
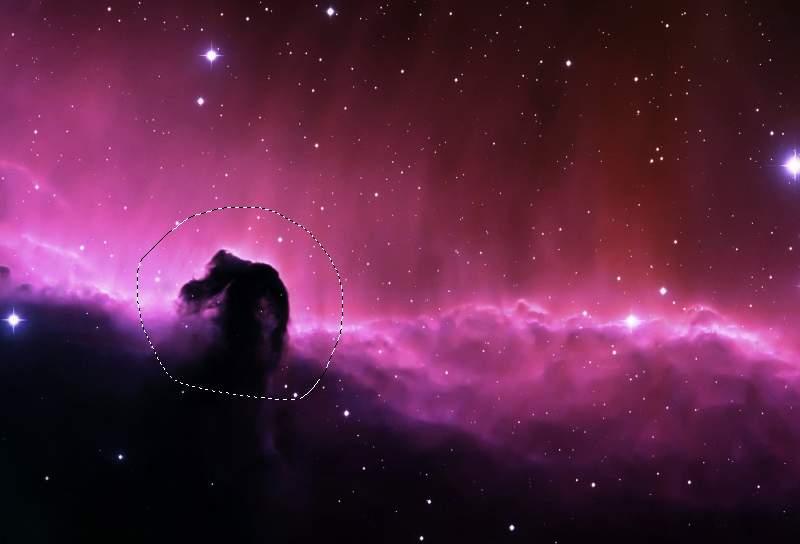
To do it, use the Lasso Tool (L) to select a part on the right and set the radius to 30 px :
Press Ctrl+J to duplicate the selected area. Move it to the left where the indicated detail located and flip it horizontally (Edit > Transform > Flip Horizontal).
Step 3
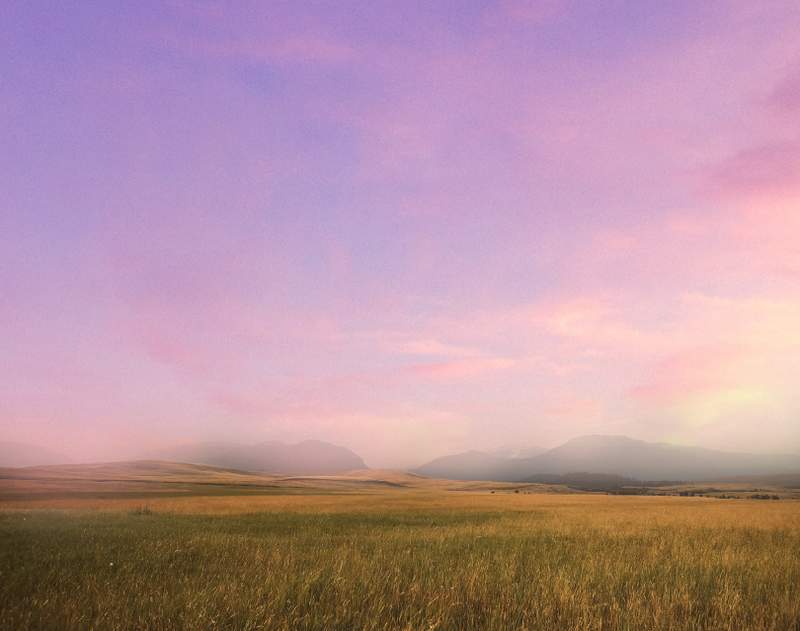
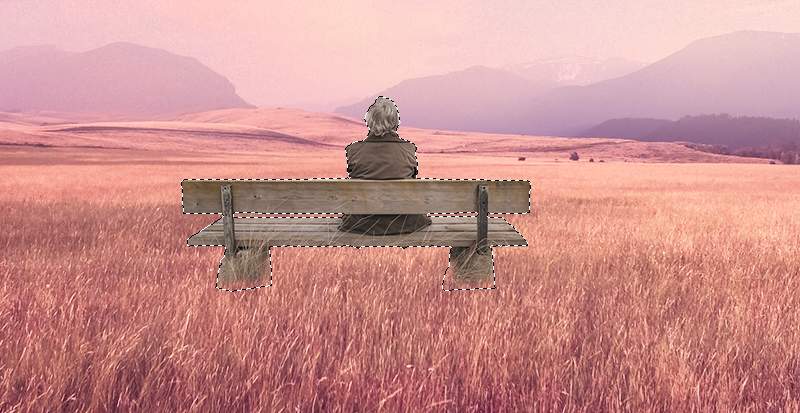
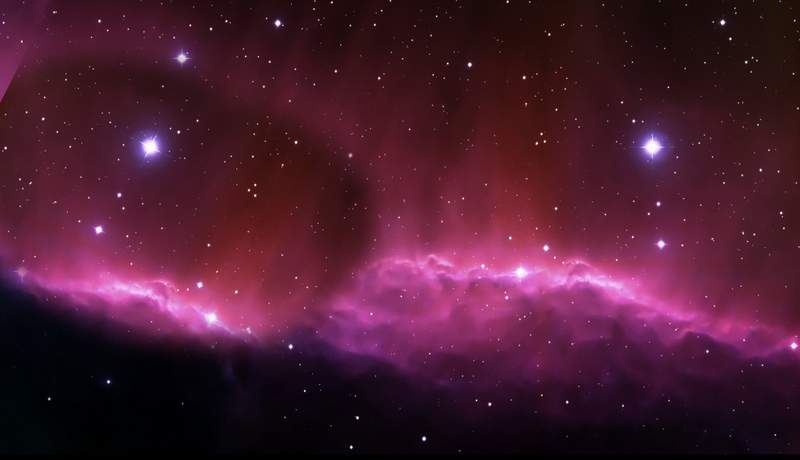
Click the second icon at the bottom of the Layers panel to add a mask to this layer. Use a soft black brush to remove the hard edges and blend this part with the existing background.
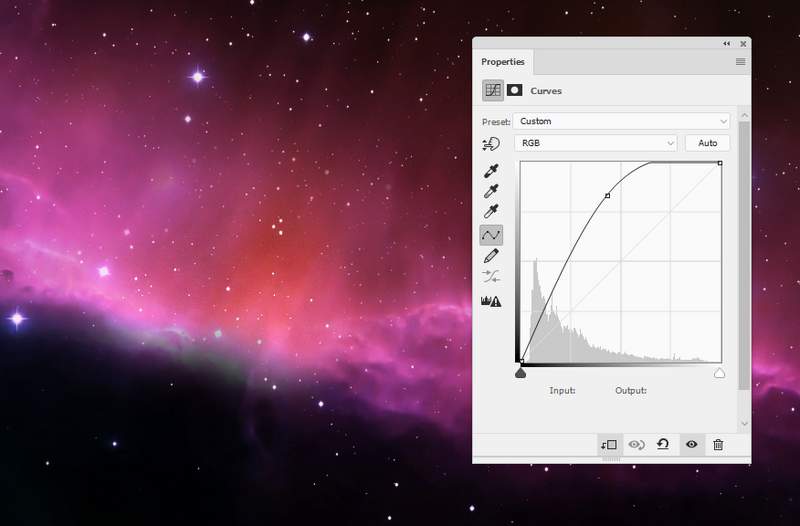
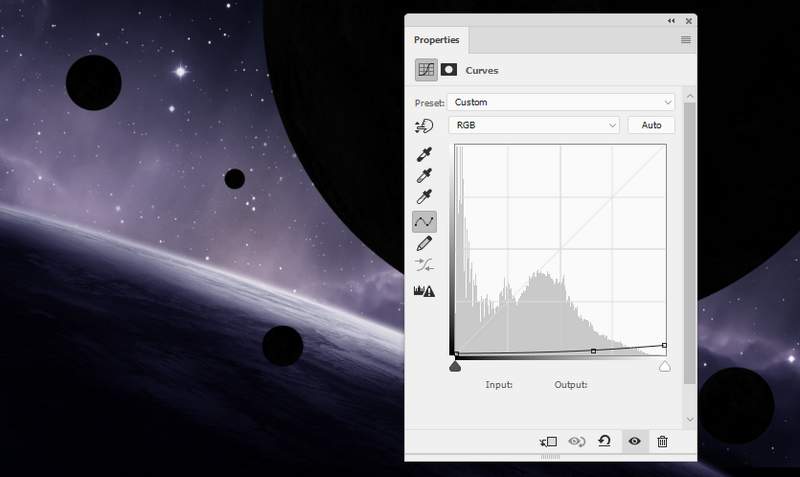
Step 4
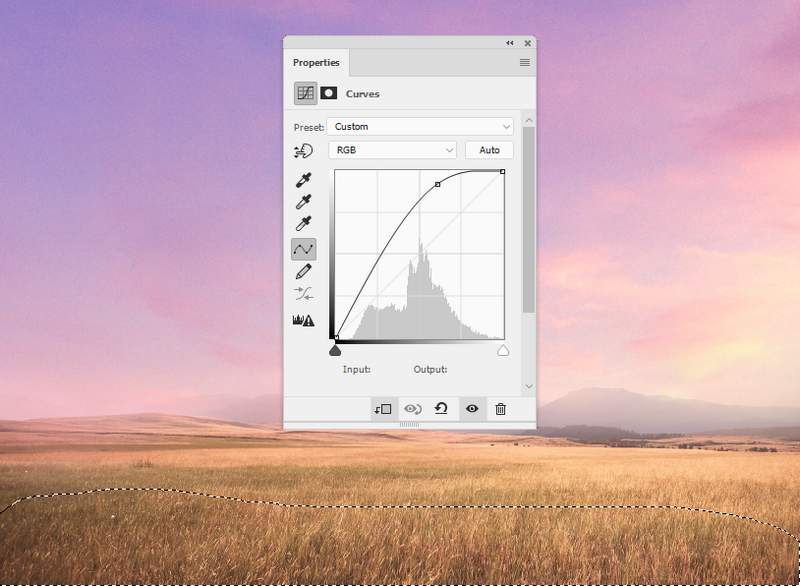
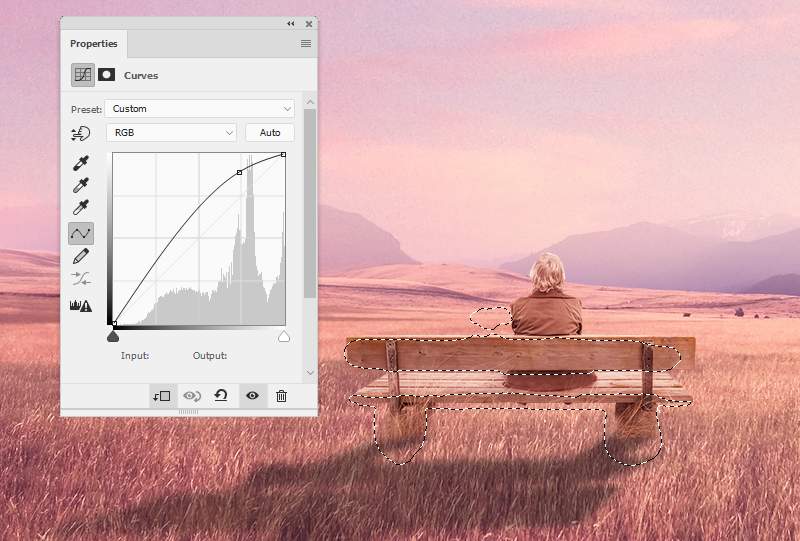
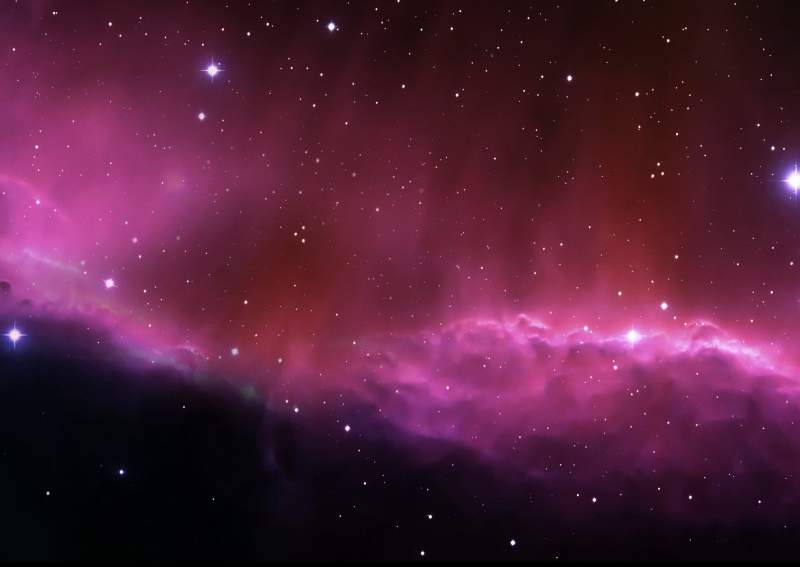
This part looks darker than the existing background. To correct it, go to Layer > New Adjustment Layer > Curves and increase the lightness. Set this layer as Clipping Mask.
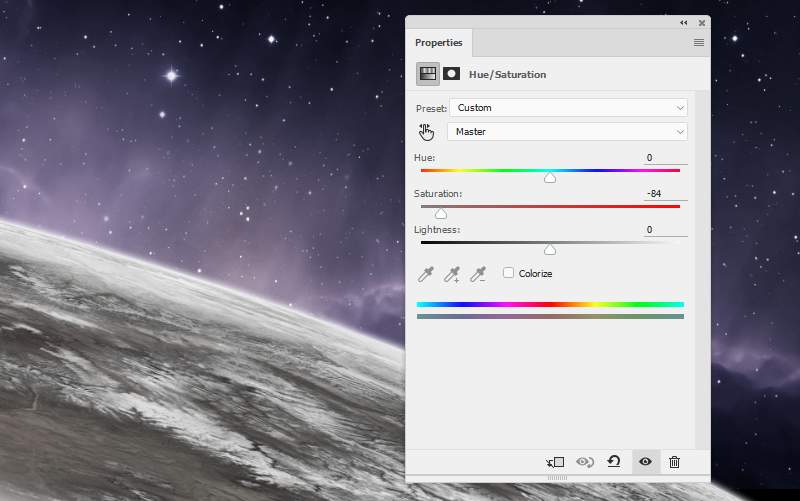
Step 5
Make a Hue/Saturation adjustment layer and reduce the Saturation value to -84 :

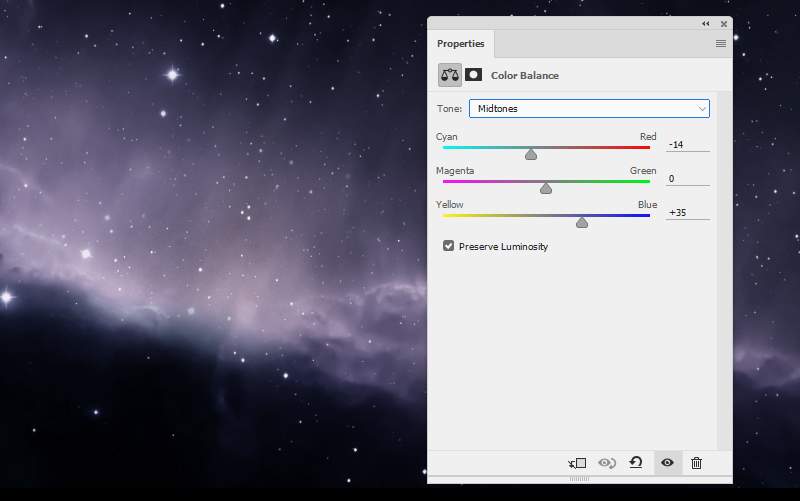
Step 6
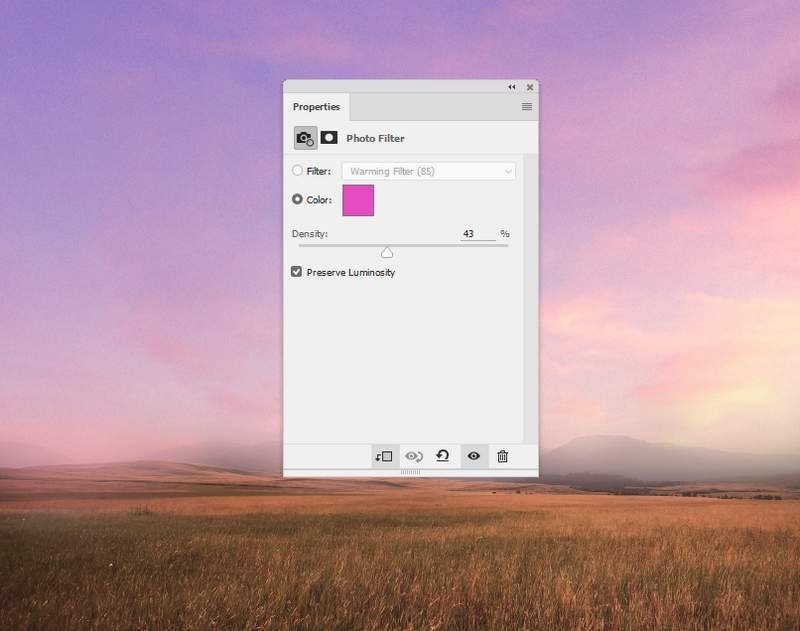
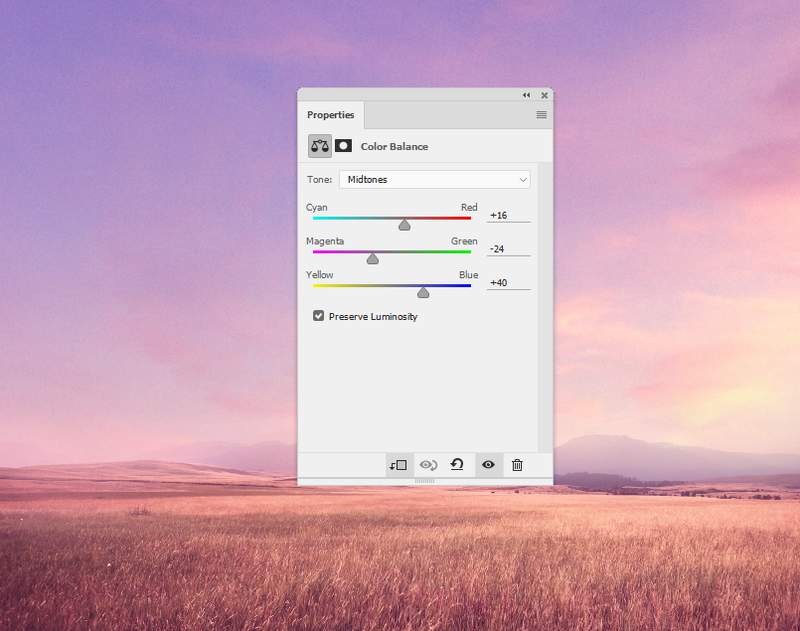
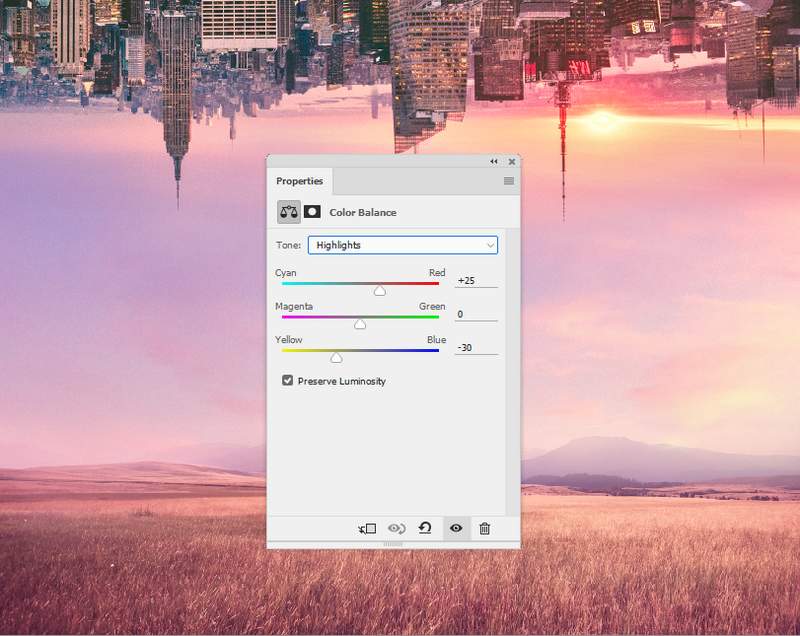
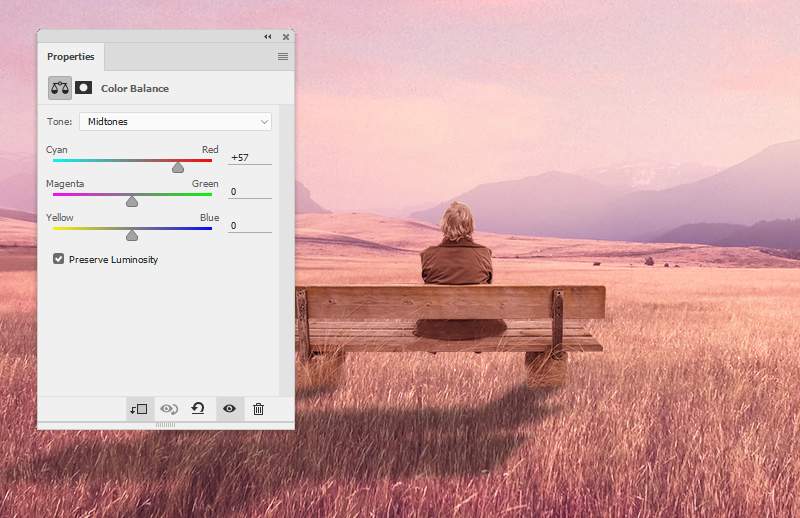
Use a Color Balance adjustment layer to change the background’s color:
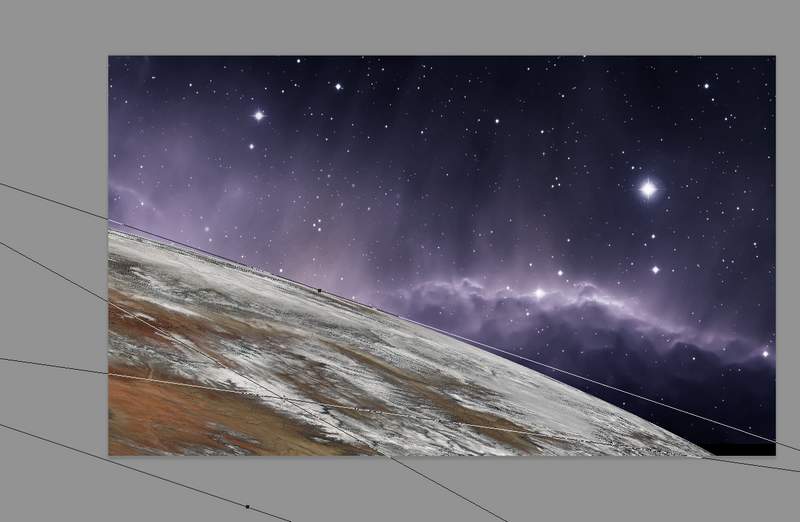
Step 7
Open the planet texture. You can see how to use this texture to make a planet in the following tutorial:
Create a Sci-Fi Landscape Scene with Photoshop.
Drag the planet into our main canvas using the Move Tool. Use the Free Transform Tool (Ctrl+T) to stretch the planet a lot and place it in the bottom left.
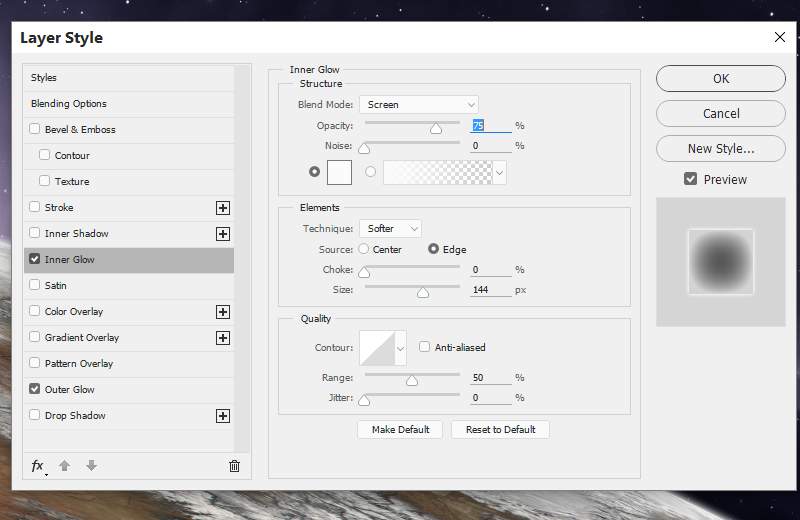
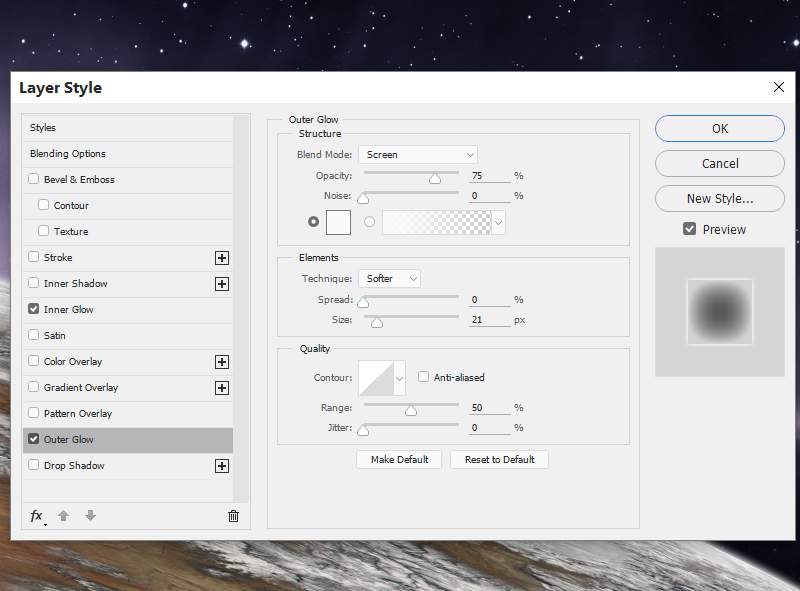
Step 8
To add some glow to this planet, double-click this layer, choose Outer Glow and Inner Glow. Set the color of glow to #fcfcfc .

Step 9
Hit Ctrl+G to make a group of this planet. Change this group’s mode to Normal 100% and create a Hue/Saturation adjustment layer within the group. Name this group “planet 1”.
Step 10
Make a new layer, use a soft brush with the color #000205 to paint the shadow of the planet. Leave the bright side on the front of the planet.
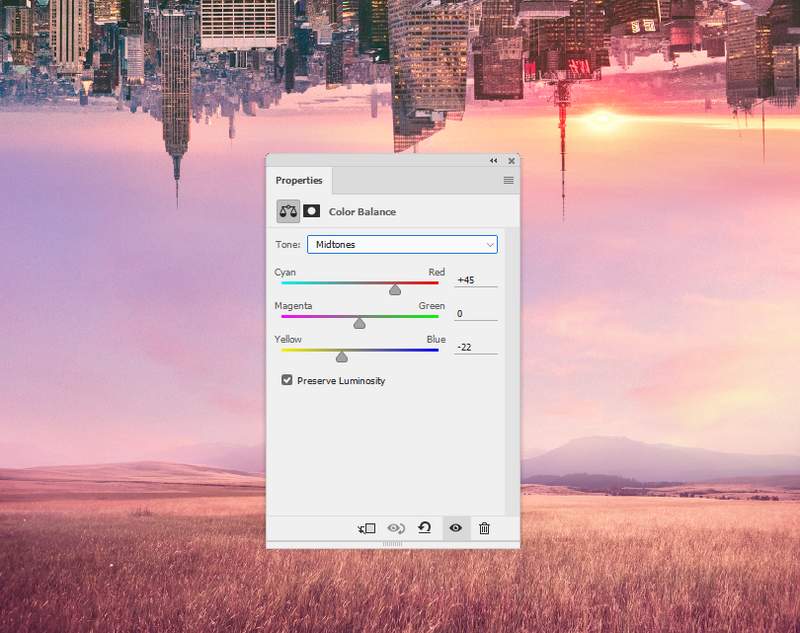
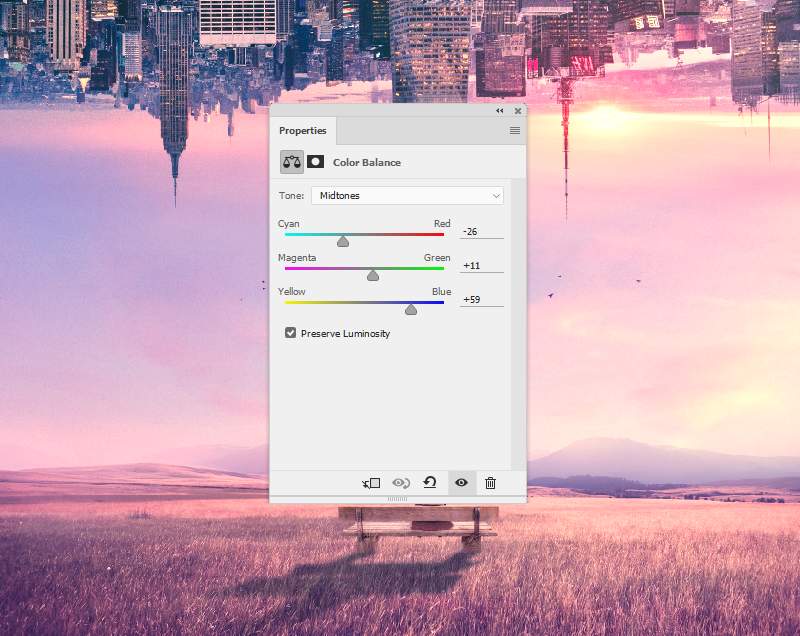
Step 11
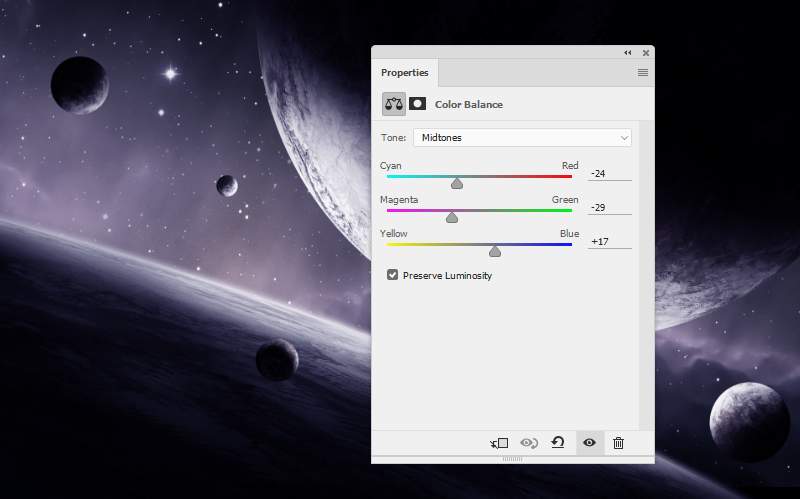
Create a Color Balance adjustment layer and change the Midtones settings:

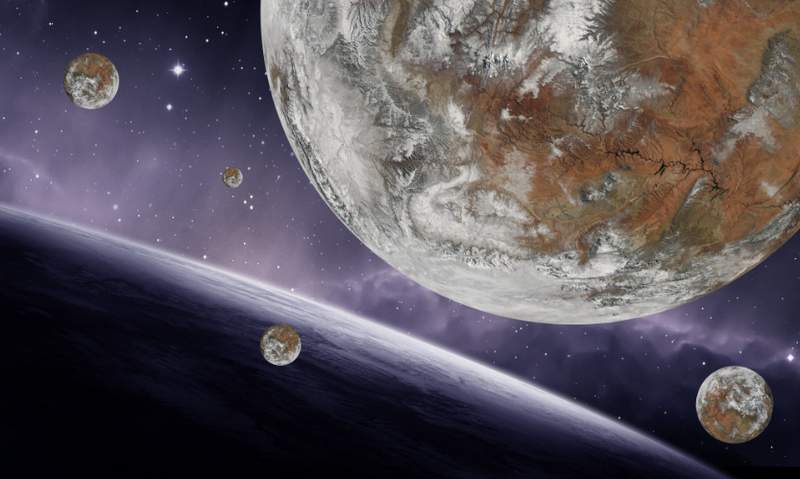
Step 12
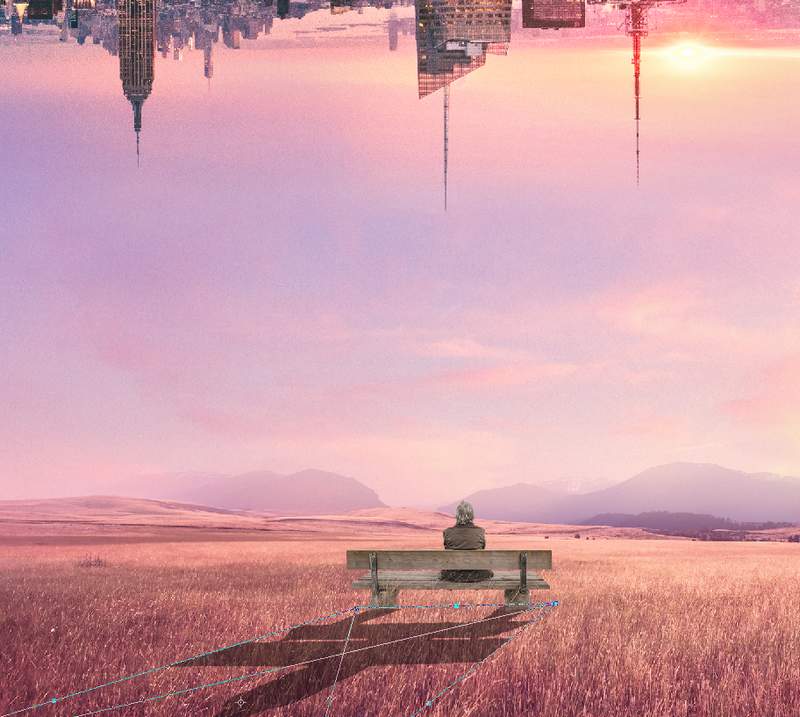
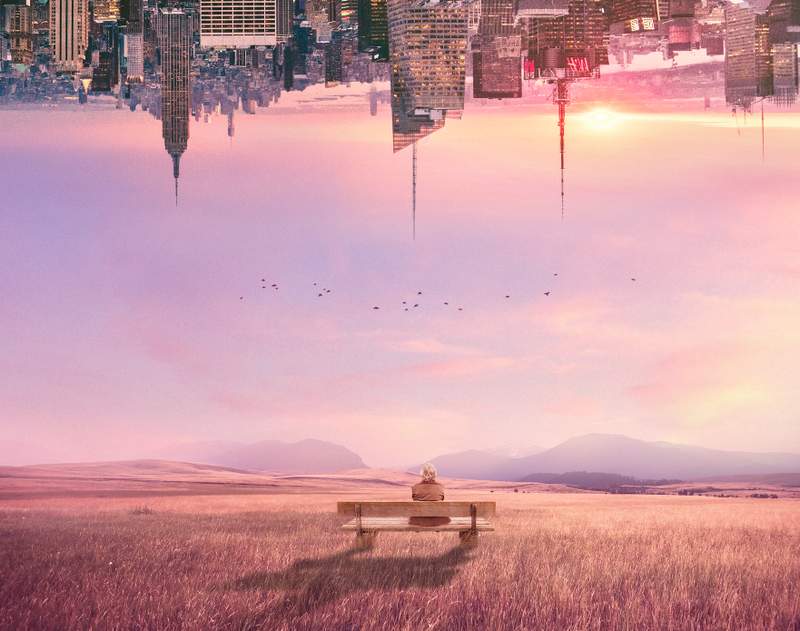
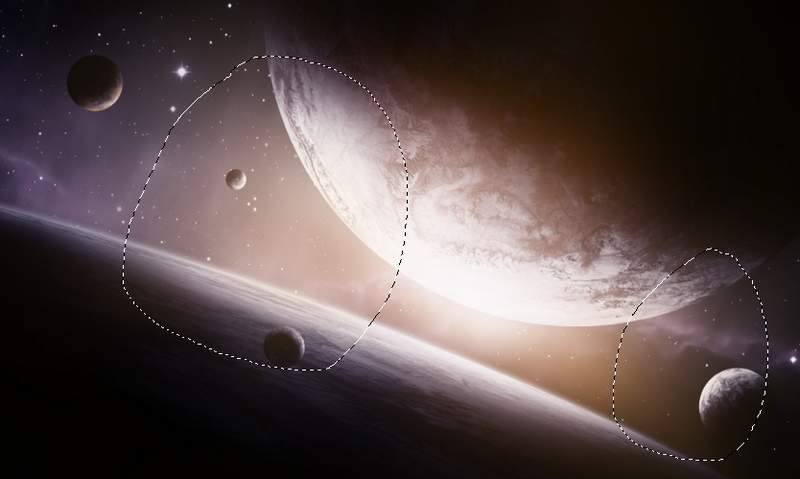
Add more planets to the main file. Duplicate and scale them in different sizes. Place the biggest in the top right and small others around, in the background and foreground. Remember to set these planet layers above the planet 1 group.
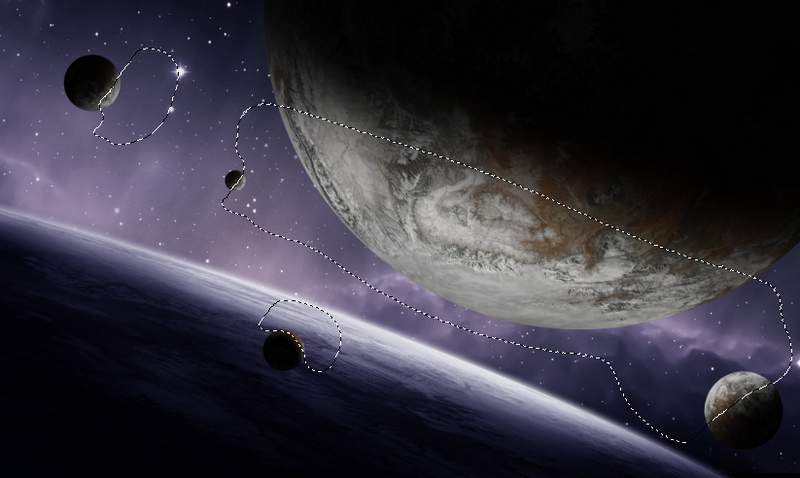
Step 13
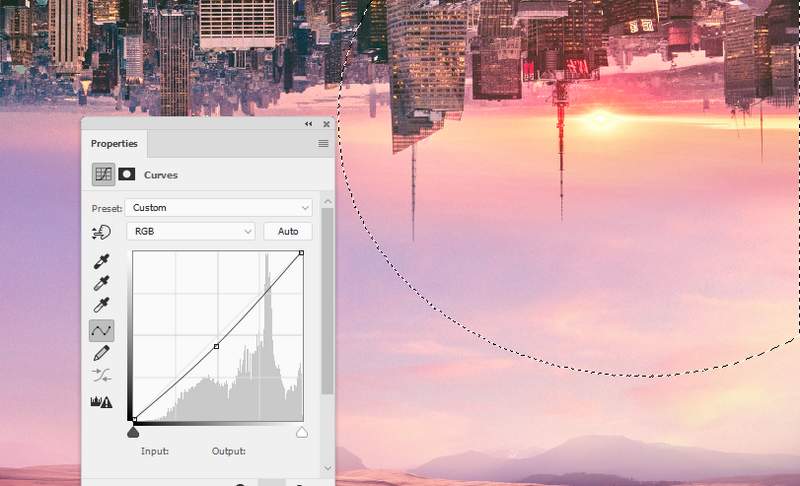
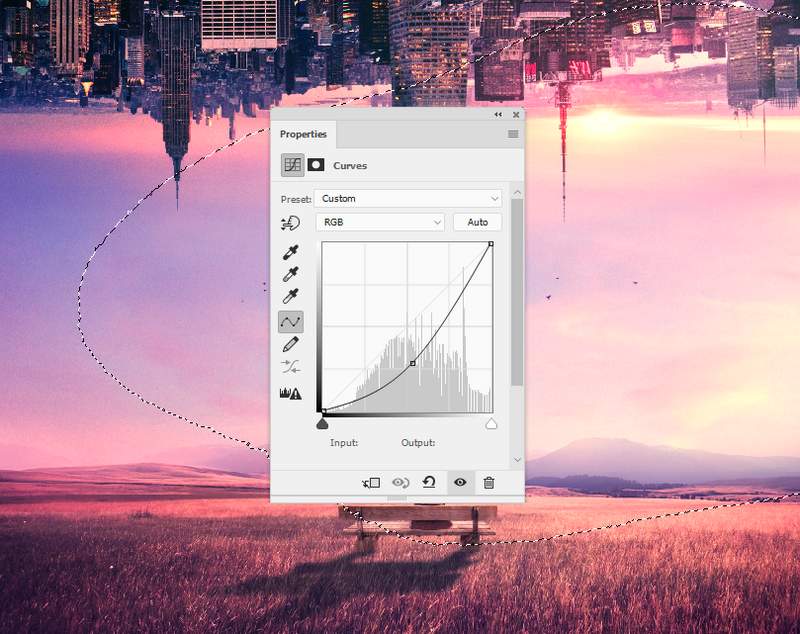
Create a group of these planet layers and use a Curves adjustment layer to darken them.
On this layer mask, use a soft black brush to erase the bright part of the planets( which towards the light – see the planet 1 for reference) and leave the dark effect visible on their hidden areas.
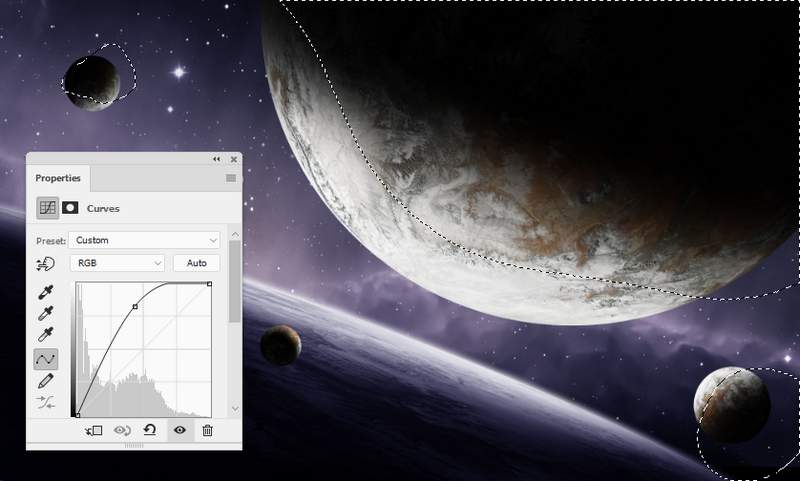
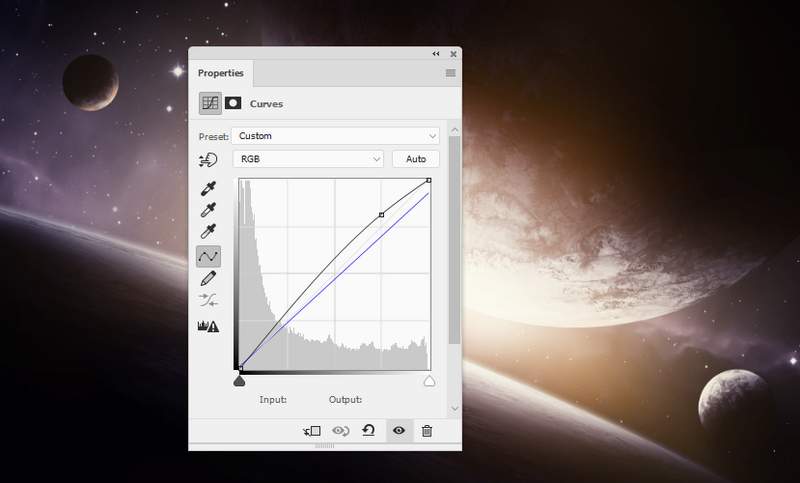
Step 14
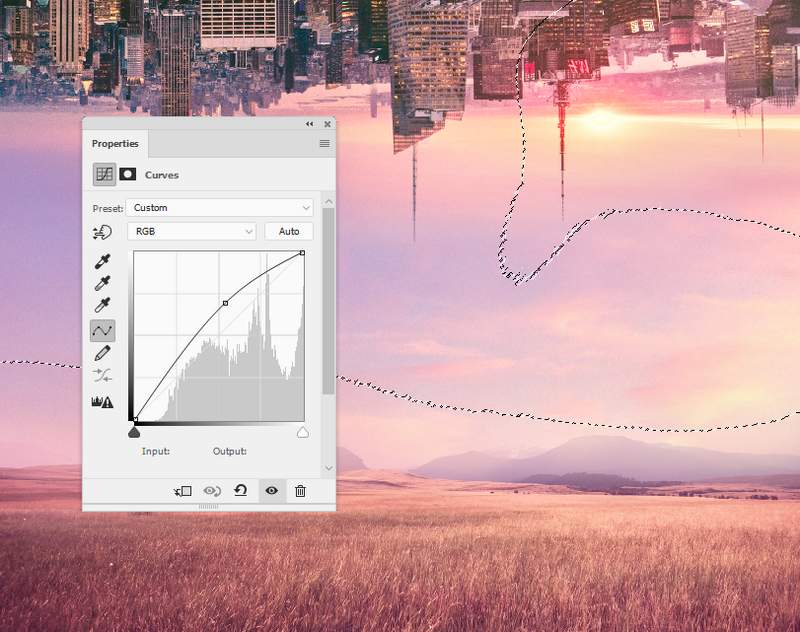
Use another Curves adjustment layer to bring more light to the planets. Paint on the shadow areas of the planets so they won’t be affected by this adjustment layer.
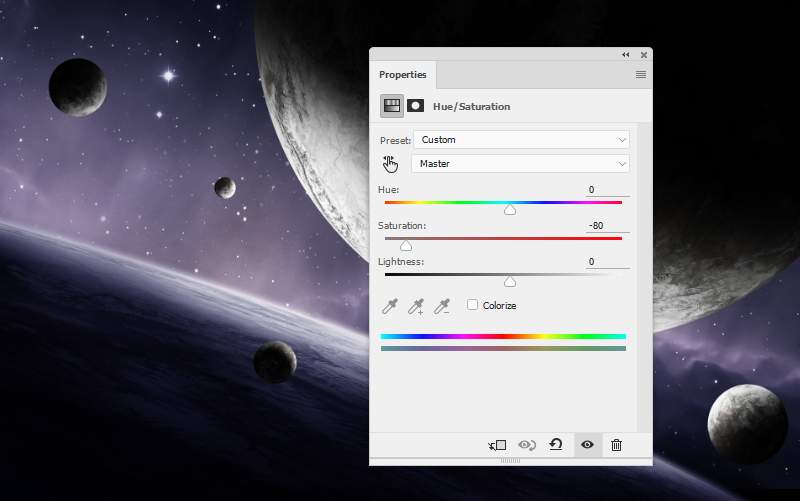
Step 15
Add a Hue/Saturation adjustment layer to desaturate the planets. Bring the Saturation value down to -80 :
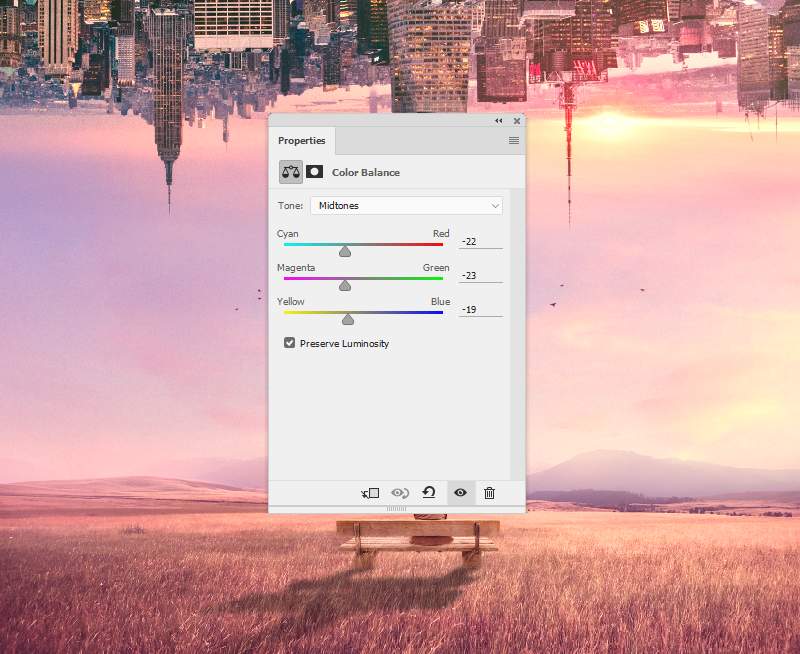
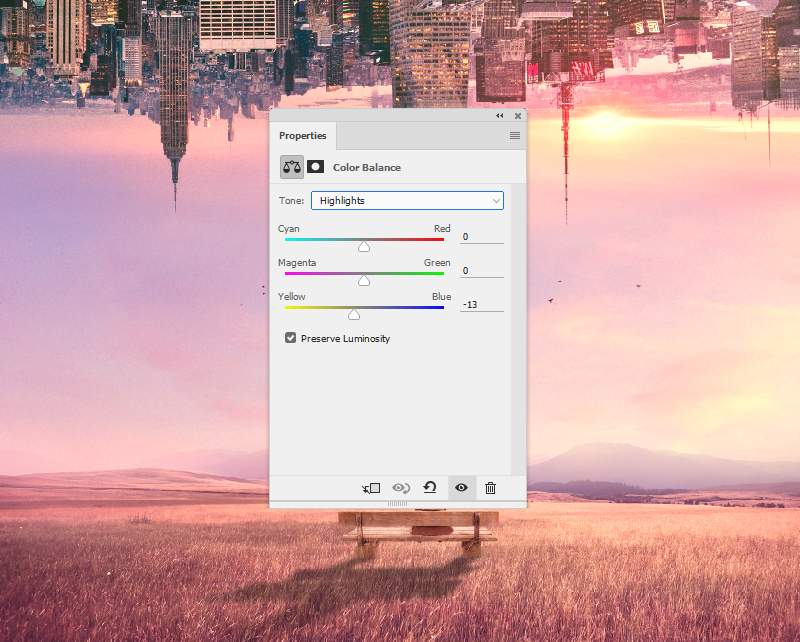
Step 16
Use a Color Balance adjustment layer to match the planets’ color with the background.
Step 17
To add more light to the planet on the top right, create a new layer above the planets group. Use a soft brush with the color #f1f3f9 to paint on the bottom of the indicated planet.
Step 18
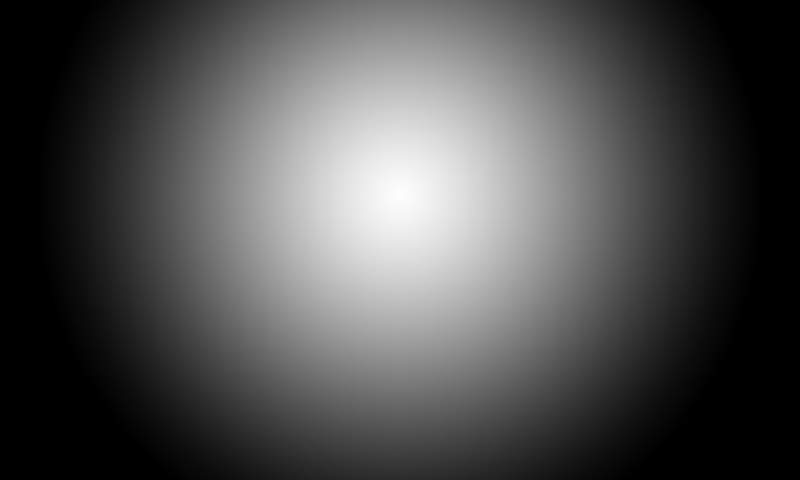
Add a new layer and activate the Gradient Tool (G ). Use Radial Gradient with default colors (black and white) and change this layer mode to Soft Light 100 %. This step is to change the focus of the canvas to the middle area.
Step 19
It’s time to add the light. Create a new layer on top of the layers and use a soft brush with the color #f7c590 to paint on the middle and the small planet on the top left. Change this layer mode to Hard Light 100% and use a layer mask to clean the effect on the top and bottom of the big planets.
Step 20
Make another layer and use the same brush to paint some yellow light around the middle.
Step 21
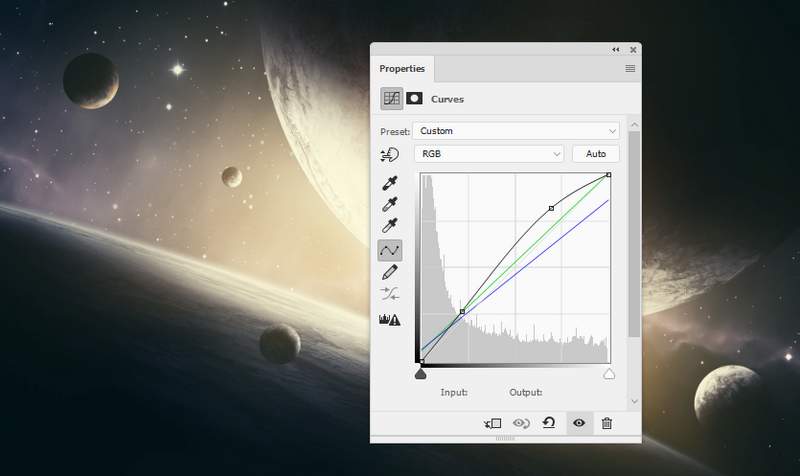
Make a Curves adjustment layer on top of the layers to change the light color of the whole scene a bit.
Step 22
Add another Curves adjustment layer with the same purpose.
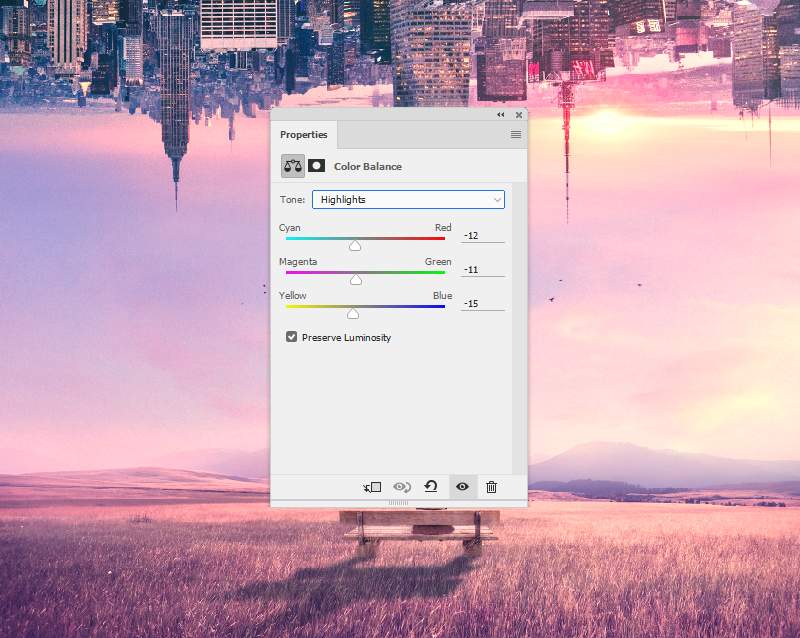
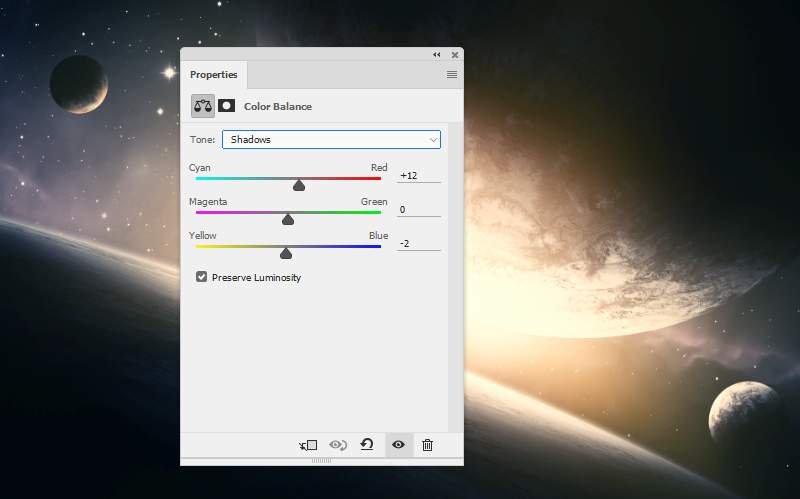
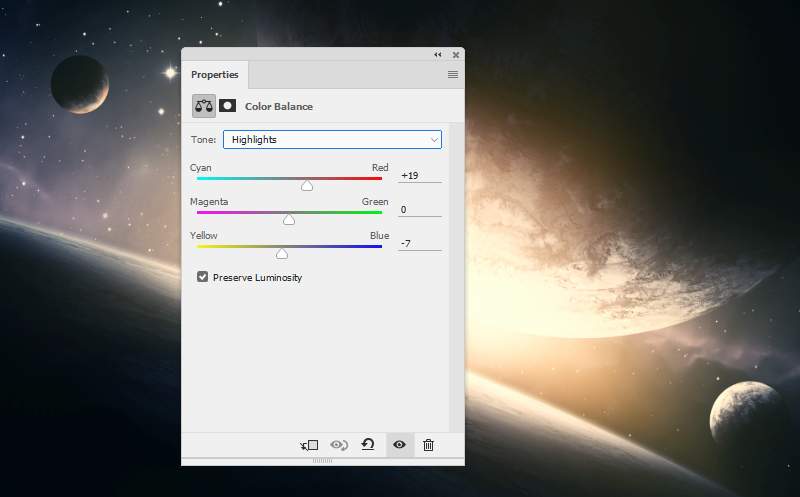
Step 23
Use a Color Balance adjustment layer and adjust all the values of Midtones, Shadows and Highlights.

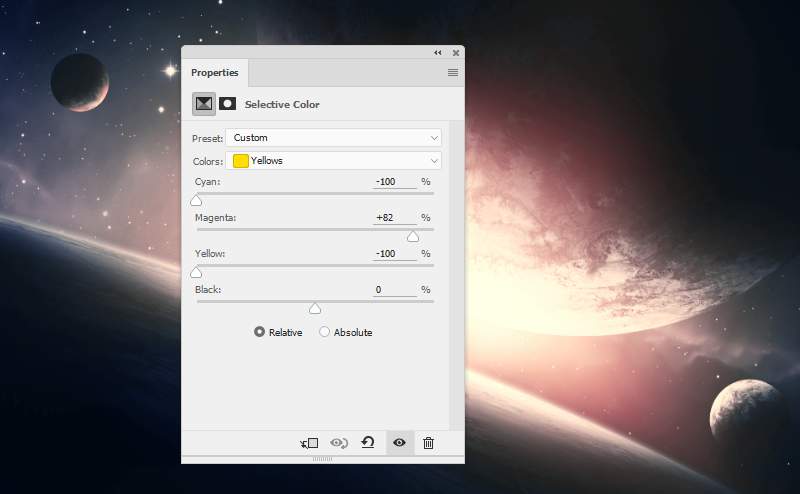
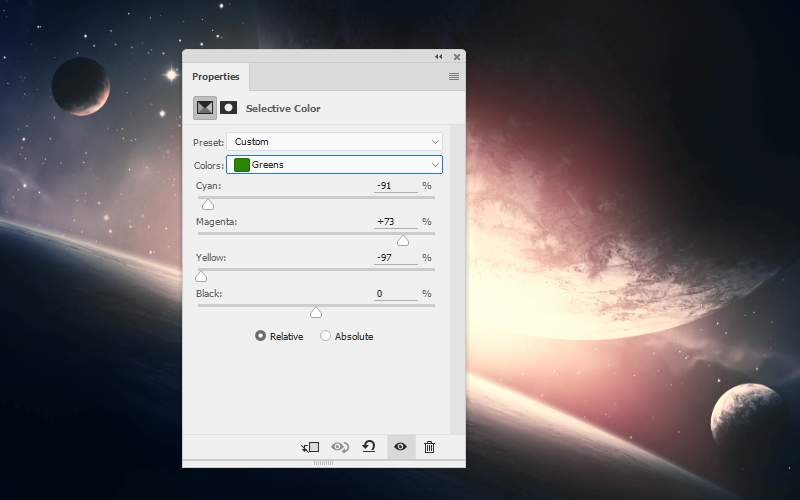
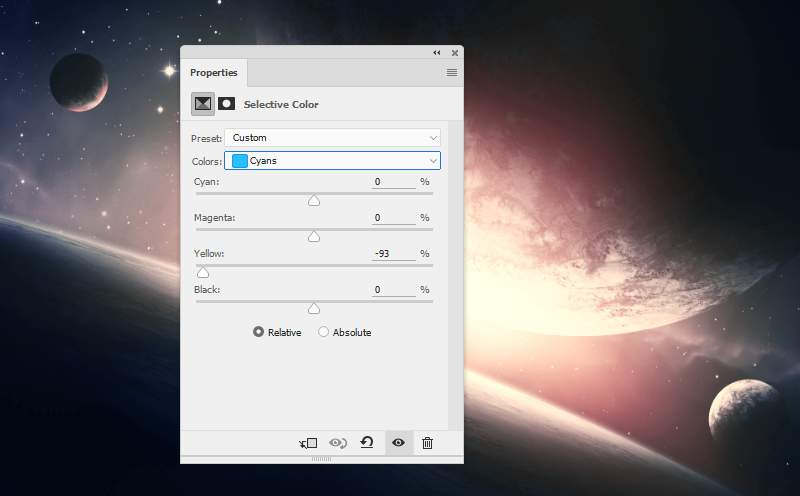
Step 24
Add a Selective Color and work on Yellows , Greens and Cyans settings:
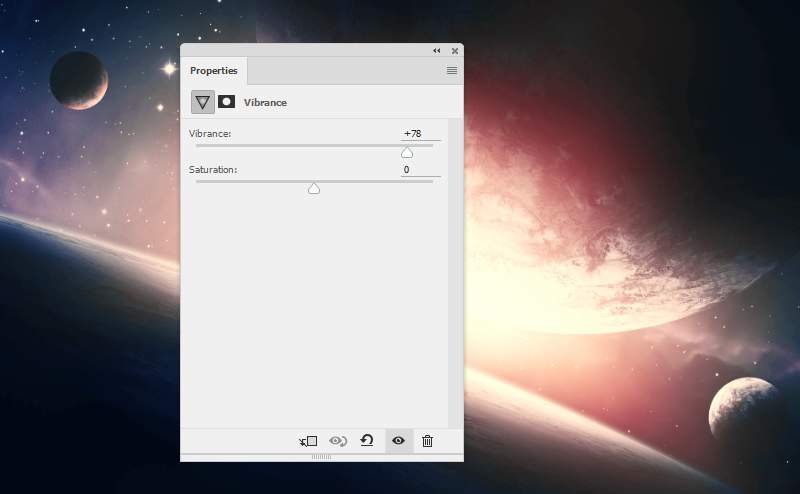
Step 25
Use a Vibrance adjustment layer to enhance the final effect.
And We’re Done!
I hope that you enjoyed this tutorial.