Best Design Tutorials

Design Tutorials provides the best and educational tutorials for your skills improvement

Wikipedia

Search results

Showing posts with label Design Tutorials. Show all posts
09:34:00

Make original composite images Photoshop AI


Photoshop's AI generative fill may create graphics in addition to editing already-existing ones. But it's important to remember that Photoshop has trouble with pictures bigger than 1024 pixels, which frequently results in photos of lower quality. In light of this, you should either produce your composite image in pieces or use a canvas no bigger than 1024 pixels (w x h) for making new images.

Create a canvas that is 1920 pixels wide by 1024 pixels high to begin. We'll choose RGB as the color mode, set the backdrop color to white, and set the resolution to 300 pixels.


Next, make a rectangle selection of the lowest third of your image using the rectangular marquee tool.


Enter "beach sand with ocean waves" into the generative fill tool, then click "generate."


Next, make a selection in the center of your image, select generative fill, and type majestic snow-capped mountain range into the prompt box. To build the section, click generate after that.


Draw a rectangular selection around the top third of your image for the third selection. Enter a sky with plenty of sun and few clouds in the text box, then click produce.

Let's add a few accents now that we have our background in place. Start by using the lasso tool to make a selection in the water. After adding the word prompt "yacht in an ocean," click create, then choose generative fill.


We'll finish with a man and two dogs admiring the view. Create a selection over the lower right corner of the composite image using the rectangle marquee tool. Utilize the text box that asks you to make a picture of a dog and its owner gazing out at the water.


01:47:00

Object Removal in Photoshop AI

The ability to remove things from your photographs using Photoshop AI's generative fill is another amazing feature. Imagine your image is flawless with the exception of a few flaws. Photoshop will use AI to take out some elements of your image and replace them with pixels from the surrounding area. Although it may resemble the content-aware tool, this goes well beyond that. The replacement areas of your image are so flawless that it is practically impossible to discern the difference, as opposed to having a murky, strange appearance.

For instance, if we wanted to replace the bird in this picture, we would have to take it out first. Form a selection around the bird with the lasso tool, choose generative fill, and then press create. This will instruct Photoshop to replace any pixels in the selection with nearby ones in the surrounding area. Unless you want to replace it with anything else, make sure to leave the text prompt blank.


Photoshop does a great job of making the bird disappear as if it never existed.


01:34:00

In-Depth Tutorial: How to Use Photoshop AI Generative Fill in 2023

For more than 30 years, Adobe Photoshop has been the industry standard for picture processing. Photoshop AI generative fill, the next great thing in image editing, was introduced by Adobe in early 2023. You can add or remove objects, increase the width or height of an image, and remove backgrounds using the most recent beta version of Photoshop. This article will describe the generative fill feature in Photoshop AI, what it may be used for, and some practical advice.


Photoshop AI Generative Fill: What is it?


With only a few clicks, you can easily fill, edit, and remove image objects with Photoshop's AI generative fill function. It generates portions of photographs or even full composite shots in a fraction of the time it would take a human to do it thanks to machine learning artificial intelligence (AI). A strikingly realistic work of art is produced by matching lighting, perspective, coloring, and shadows by scrutinizing every pixel in an image. This non-destructive tool organizes each created element into its own layer, complete with a layer mask, allowing you to effortlessly undo any modifications you aren't happy with. Because of this, you can improve and alter the designs you produce using any of Photoshop's other tools, such as blending modes or filter effects. Better still, it is compatible with your preferred Photoshop keyboard shortcuts. 

You'll need to download Photoshop beta from Adobe in order to try out the Photoshop AI generative fill tool because it's currently the only version of Photoshop that supports it.

Photoshop Beta Download Instructions


Unless you wish to test it out on Adobe's Firefly web app, you must have a Creative Cloud subscription in order to use Photoshop AI generative fill. Depending on the tools you choose, the price can vary, but a standalone version of Photoshop costs about $21 each month. A 7-day free trial of Photoshop is available if you wish to explore its capabilities before making a purchase, allowing you to determine whether you want to keep using it.

Click the download button to get Photoshop after signing up. By doing this, the Creative Suite control panel will be installed on your computer. Go to the Apps tab after launching the Creative Cloud dashboard. From there, look for the Beta Apps tab on the dashboard's left side. To install Photoshop (Beta), click it and then do a search.


Using the Photoshop AI Generative Fill interface 

Taskbar You can begin producing as soon as you install Photoshop beta. To help you understand what the tools are and where they are, let's first have a look at the generative fill contextual taskbar and its settings. When a new picture or document is created or imported, the taskbar will show up below the image area.


The taskbar's settings while an image or subject is not selected are broken down below, along with brief descriptions of each: 

  1. Use this button to instruct Photoshop to choose the object in your photo. This is helpful if you want to get rid of the background in your images or pick a certain topic, such as a person, car, animal, etc., to utilize.

  2. Remove background: Photoshop utilizes artificial intelligence (AI) to identify the likely subject in your shot and remove the background around it.

  3. Flip your photo horizontally or vertically to transform it.

  4. By adding an adjustment layer, you can change the color and tone of your image by using one of the many adjustment presets. Using this tool, you may also make your own adjustment layer.
  5. Taskbar visuals: Select whether to pin or unpin the taskbar from its current position, hide it, or show it.

  6. Controls whether the properties panel for your image and any generated fill layers are visible or hidden.

The choose topic tool (1), any marquee or lasso tool (2), the object selection, rapid selection, or the magic wand tool (3) can all be used to make selections in your image. The taskbar's generative fill tools are then revealed after the selection appears with marching ants (4) all around it. (5).


Let's now examine the resources accessible after choosing a subject: 

  1. Where you add text suggestions to make visuals is called a generative fill.

  2. Selection tool: To achieve better results, you can smooth, extend, or compress the selection after making a boundary selection.

  3. Inverting the selection means choosing the pixels on the outside rather than the inside.

  4. Change the selection
  5. Choosing a mask
  6. New adjustment layer creation
  7. Fill in the selection with a gradient or color
  8. Settings for toolbar positioning
  9. Deselect that choice


How to Apply an AI Generative Fill in Photoshop 


The generative fill tools in Photoshop AI can be used in a variety of ways. It allows you to start from blank when creating photographs, get rid of backdrops and objects, increase the size of your canvas, and make realistic backgrounds and objects. Despite the fact that there aren't many, these tools will save designers a tonne of time when it comes to altering poor-quality or ugly photographs.

Image Extension Using Photoshop AI 


The blank spaces on our canvas will be filled using the image from the preceding phase. To accomplish this, choose the rectangular marquee tool and create a selection all the way around the canvas's perimeter. Drag the selection over the white portions of the image while holding the shift to make multiple selections. Make careful to widen the selection to incorporate a few pixels from the source picture. Click the generative fill button to finish.


You'll see that a text prompt input box is displayed by the generative fill taskbar. In this case, we won't be entering any text. Photoshop AI will study the pixels in the image and extend them within your chosen area if you leave it blank. To complete the fill, click the Create button.


Here is our image after Photoshop has filled in the canvas's empty spaces. The generative layer attributes allow you to pick between three options after applying generative fill. As explained before, Photoshop creates a new layer with a mask so that your original image isn't altered. If you're not happy with the outcomes, you can click the produce button to get three new options. To achieve the desired outcomes, you can repeat that process as often as you wish. To reduce file size, remove any possibilities you rule out.


Generate Backgrounds with Photoshop AI 

In addition to extending the image area of your canvas, you can use generative fill to replace backgrounds in your images. For this step, we’ll eliminate the background of our car image and replace it with a depiction of the salt flats in Utah. First, you want to ensure nothing is selected. We can use the select subject button for our image, but other selection tools may produce a better result depending on the image you decide to use.

With your subject selected, click the invert selection tool. Make any necessary adjustments to your selected area, then click the generative fill button.


Enter the desired backdrop when the text prompt appears. For this example, we selected the salt flats of Utah. Click the Create button after that.


Photoshop AI: Create Objects That Look Realistic 

After placing the background, let's use generative fill to include a lake in our picture. We are going to make a selection underneath the car by using the lasso tool. A word of caution: Photoshop will replace any selected pixels with the data from the text prompt. Avoid including the car itself. Click the generative fill button after positioning the marching ants, then type the prompt, "Reflective lake." Click Create after that.


As you can see, Photoshop created a tiny pond with the car's reflection in the foreground of our picture.


09:07:00

Are Simple Websites Better For Business?

As web design technologies raise the bar on what it is possible to achieve on a realistic budget, there’s a rising debate about whether increasing features and functionality offer increased value or whether simple websites are better for businesses.


Minimalism — the clean, grey-on-white aesthetic popularised by (among others) Apple — has been the dominant trend for years. It creates a professional look and offers easy-to-understand navigation. On the other hand, Maximalism — a visual feast that attracts attention with complexity and uniqueness — has started to gain traction.

In this post, we’ll explore both sides of the argument and provide easy ways designers can simplify websites.

What is Simplicity in Web Design?

Minimalism is often characterized as simplicity. But that’s not always the case. Occasionally Minimalist navigation is so minimal that it is difficult to use. The flip side is that Maximalism, often characterized as complex, can use simple navigation.

Many Minimalist elements are more complex than a few Maximalist elements. The key is to reduce the number of elements, regardless of the chosen style.

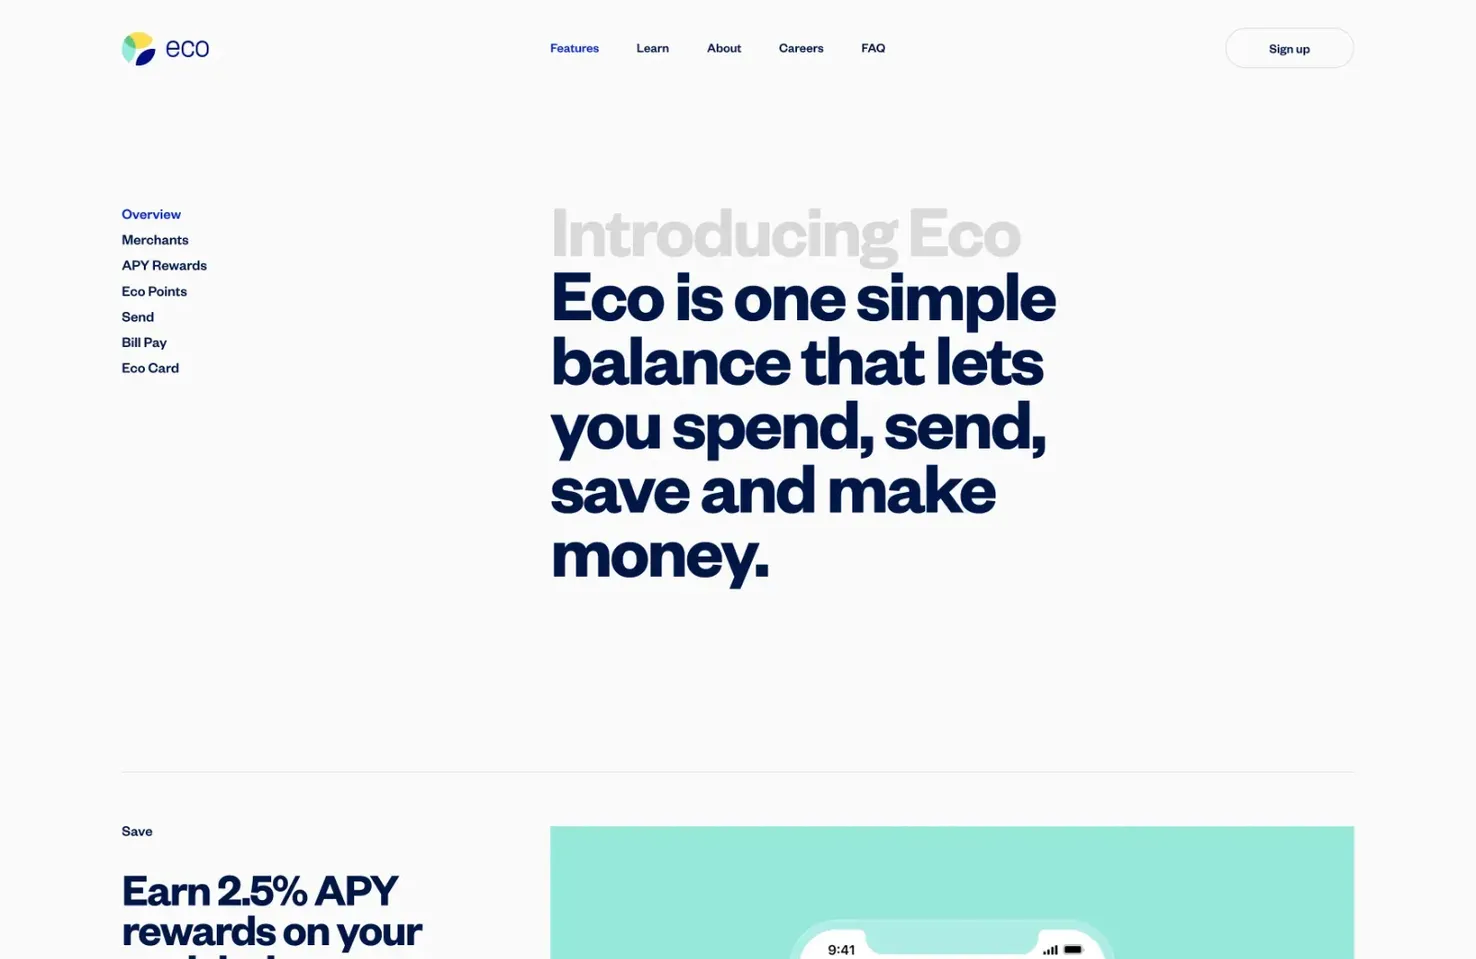
Eco App
Eco App uses a Minimalist aesthetic combined with common design patterns to exude simplicity, confidence, and security.

Simplicity in web design is usually about how simple the user experience is, and that comes down to navigation. Often, designers make navigation unnecessarily complex by attempting to creatively invent the wheel. This forces users to experiment to learn how to use the design, increasing frustration and the perception of complexity.

Scrolling is not simple. A gesture applied to a mouse, a trackpad, or a screen (each gesture being different) that moves the position of content relative to the viewport is not simple. But it is second nature because we know how to do it. Scrolling is learned, and so it is simple. By restricting interaction to established design patterns, we can design websites that are simple to use.

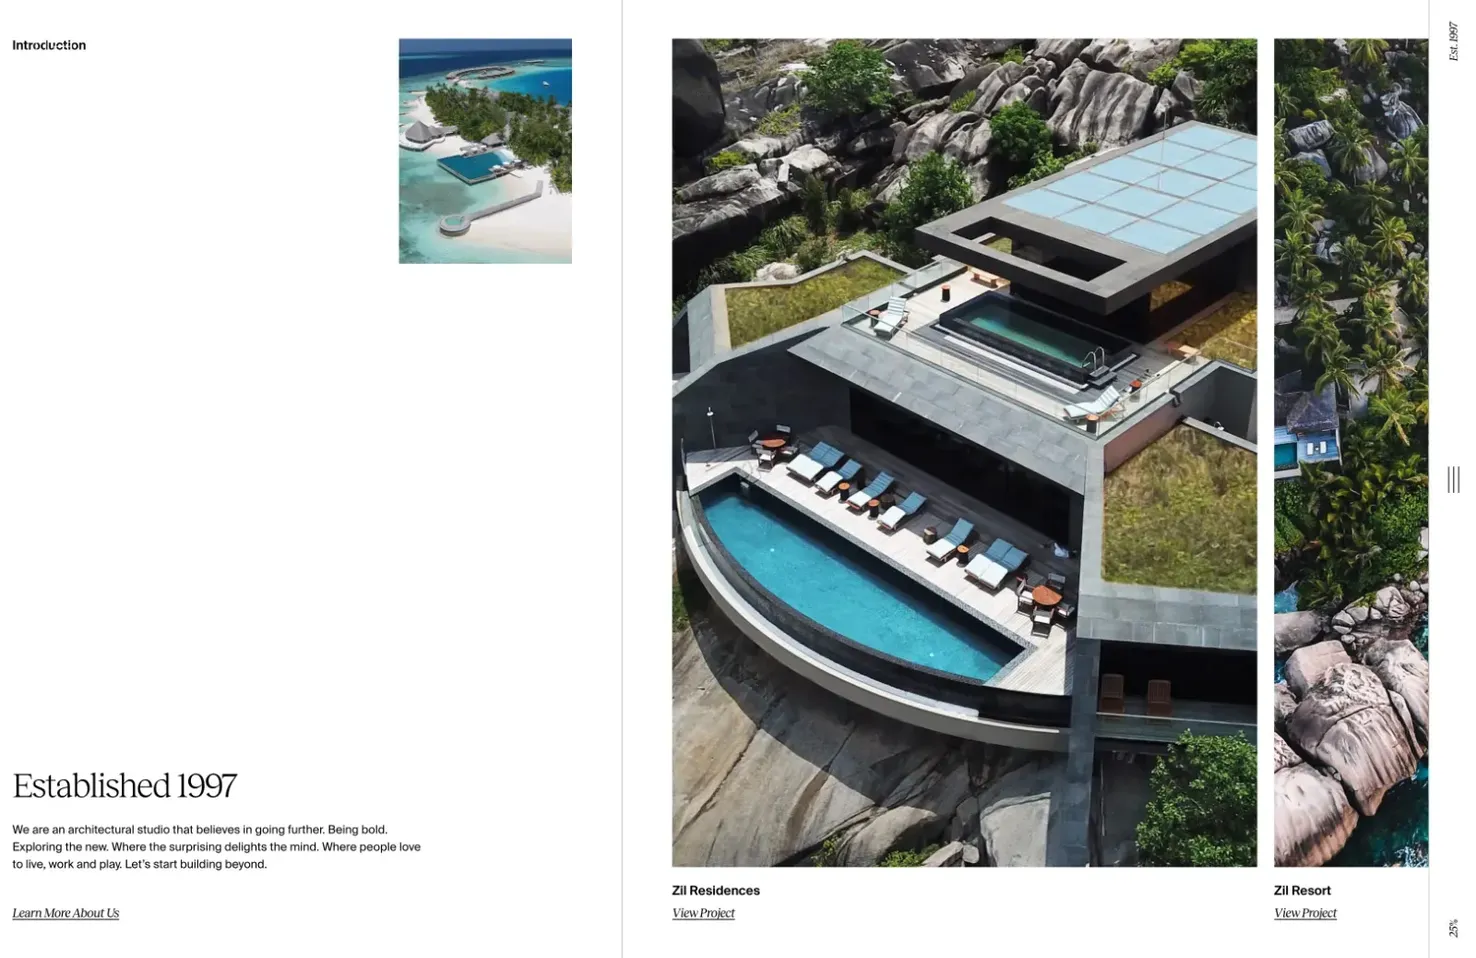
Studio RHE
Studio RHE combines simple scrolling, clicks/​taps, and clear content sections for a simple and engaging site.

In addition to building websites that are simple to use. We need to ensure that they appear to be simple to the user. The Aesthetic Usability Effect is a fascinating concept in UX design that says that how attractive something looks affects how easy to use it is perceived to be.

Regardless of your approach, beauty = simplicity.

Whether you opt for Minimalism, Maximalism, or some other ‑ism, simplicity in web design is a combination of familiarity and beauty.

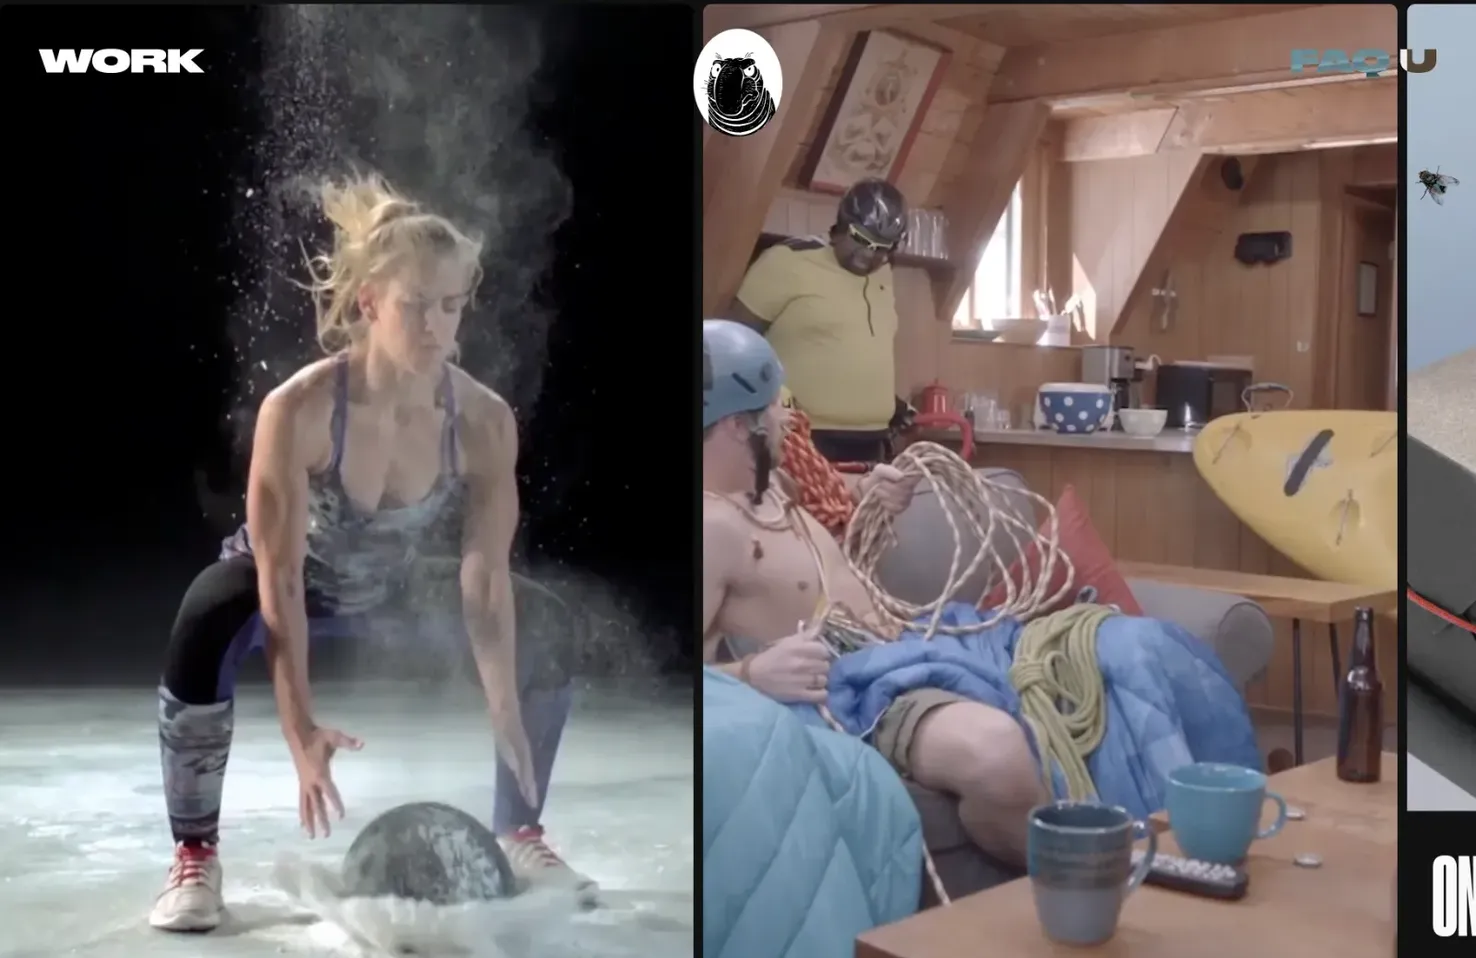
DIKO
DIKO’s take on Maximalism is packed with color and illustration, but its navigation comprises scrolling and two links.

The Pros of Simple Websites

There are numerous benefits to opting for a simple website:

  1. Improved UX — A simple website that is easier to navigate leads to a better experience for the user, which means more conversions.
  2. Improved brand perception — brands that are seen as producing more beautiful content tend to be perceived as having a higher quality, which means higher value.
  3. Fast load times — simple websites tend to have fewer elements that need to be loaded, and they use less custom JavaScript, making them faster to load than complex sites with multiple elements and interactive components.
  4. Increased SEO performance — simple sites lean into common design patterns utilizing simple source code that is easier for search engines to crawl and are more likely to be ranked highly.
  5. Easier development — with less work involved in building a simple website, it is often faster and cheaper to create and maintain.

The Cons of Simple Websites

It isn’t all upside; there are a few downsides to creating a simple website:

  1. Simple is hard — simplicity is one of the hardest things to design. It requires humility, experience, and the ability to reach the core of a problem.
  2. Lack of visual impact — simple websites with Minimalism as their chosen aesthetic can lack a wow” factor and fail to stand out in a crowded market.
  3. Some things are just complex — complexity isn’t always a bad thing. Complexity introduces variety and flexibility. Simplicity can mean rigid repetition.
  4. Difficult to scale — simple websites include only what is necessary for their content, but content changes over time. Simple websites often lack the ability to grow and must be reassessed and redesigned as new features and content are introduced.

Easy Tactics For Simplifying Websites

There are a number of ways in which designers can easily simplify their website designs:

  1. Use established design patterns — using established design patterns, especially for navigation, simplifies a site because users know and understand how the site works. Familiarity simplifies anything.
  2. Reduce the number of links — navigation should be simple, with just enough links for users to find their way around without being overwhelmed by choice.
  3. Utilize negative space — negative space (also known as white space) helps delineate areas of a website allowing users to focus on one task at a time.
  4. Create modular designs — divide pages into smaller sections using clear headings and negative space. Modular designs allow quicker scanning of information while maintaining an aesthetic.
  5. Reduce clutter — eliminate any non-essential design elements that will detract from the core elements of the website.
  6. Streamline processes — make sure forms are easy to fill out and utilize shortcuts wherever possible to make navigating the website easier.
  7. Design a beautiful website — beauty is perceived as simple, so ensure that your design is beautiful, and it will also be perceived as simple.

Conclusion

Although there are some drawbacks to designing and building a simple website, the pros far outweigh the cons for businesses. A simple website creates a professional look, increases the perception of your products or services as high quality, and promotes engagement and conversions.

Designers aiming to create a simple website should start by focusing on navigating content in a predictable way using established design patterns. Choose any aesthetic you like, from Minimalism to Maximalism, but ensure that you use it well and that users will perceive the experience as simple.

17:07:00

Apple Opts for AR over VR at WWDC

An Apple VR headset has been one of the most widely-rumored devices of the last few years, and it was finally settled as Apple unveiled its AR headset at WWDC today.


Officially named Apple Vision Pro, Apple has spent years quietly developing the product, and the fact that we’re getting a preview now is a strong indication that Apple thinks both the product and the timing are right — ridiculous charging point on the Apple Mouse excluded, Apple rarely gets these things wrong.

There have been several false starts for VR/​AR headsets. Google Glass was officially retired in March, and HTC’s Vive makes you look, and feel, like a Borg. Many people will see Apple’s entrance into the market as a saturation point. What is more significant is that thanks to Apple, Augmented Reality appears to have won out over nausea-inducing Virtual Reality.

With sales of VR/​AR headsets declining by over 50% last year, the prospect of a new headset from Apple arriving in six months is unlikely to bolster sales of other brands.

Vision Pro will use eye-tracking, voice, and hand gestures for control. The display packs more pixels than a 4TV. In addition, 12 different cameras will be able to record a real-life event, so you can relive it over and over again — cue thousands of Apple fans clinging desperately to their expensive new headsets as they pack onto thrill rides. And speaking of theme parks, Disney+ is onboard from day one, so you can watch the Mandalorian while you queue for Galaxy’s Edge — provided the queue doesn’t last longer than Vision Pro’s 2‑hour battery life.

The last device to be launched that had this much potential to transform our world was the iPhone — which didn’t invent the mobile web, but certainly set the benchmark for our expectations.

Apple also announced iOS17, a new 15-inch MacBook Air, MacOS Sonoma, and a few other things. But frankly, if you can’t strap it to your head, no one’s interested.

The Vision Pro headset will cost $3.5k and will be available in Q1 2024.

12:07:00

Exciting New Tools for Designers, June 2023


In this month’s roundup of the most exciting new downloads for designers and developers, there are many AI-powered tools, services to simplify your app development, productivity tools, and some great training courses. Enjoy!

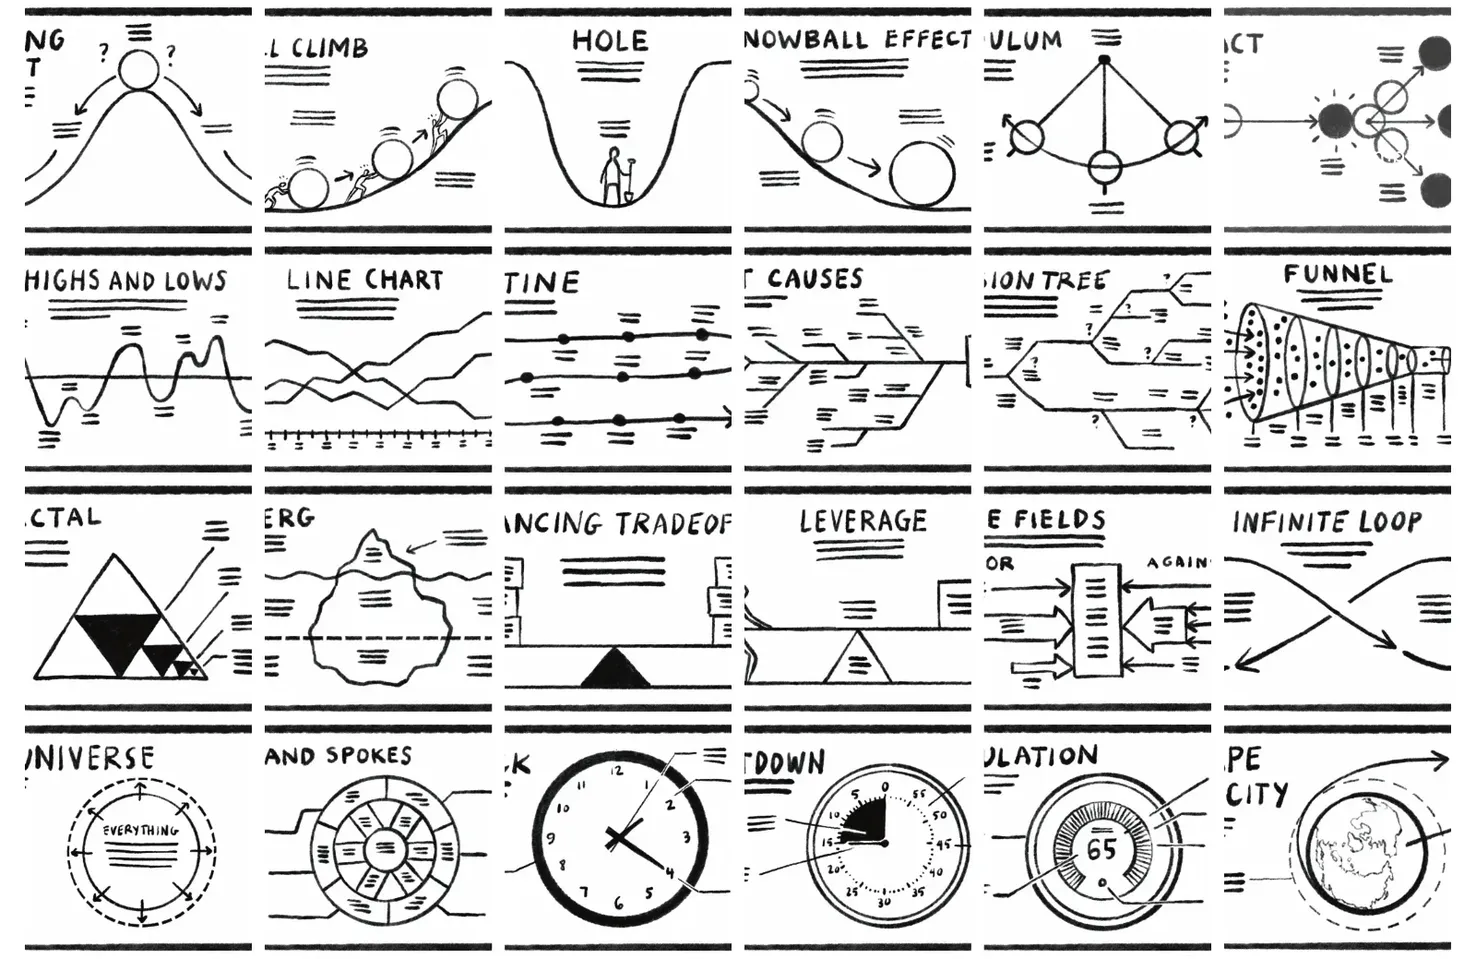
Visual Frameworks

Visual Frameworks is a set of helpful illustrations designed to trigger possible strategies and solutions to problems. Think of a challenge you’re facing, then click on an image to find a viable solution. Keep clicking until the answer presents itself.

Visual Frameworks

Speedrun Ethereum

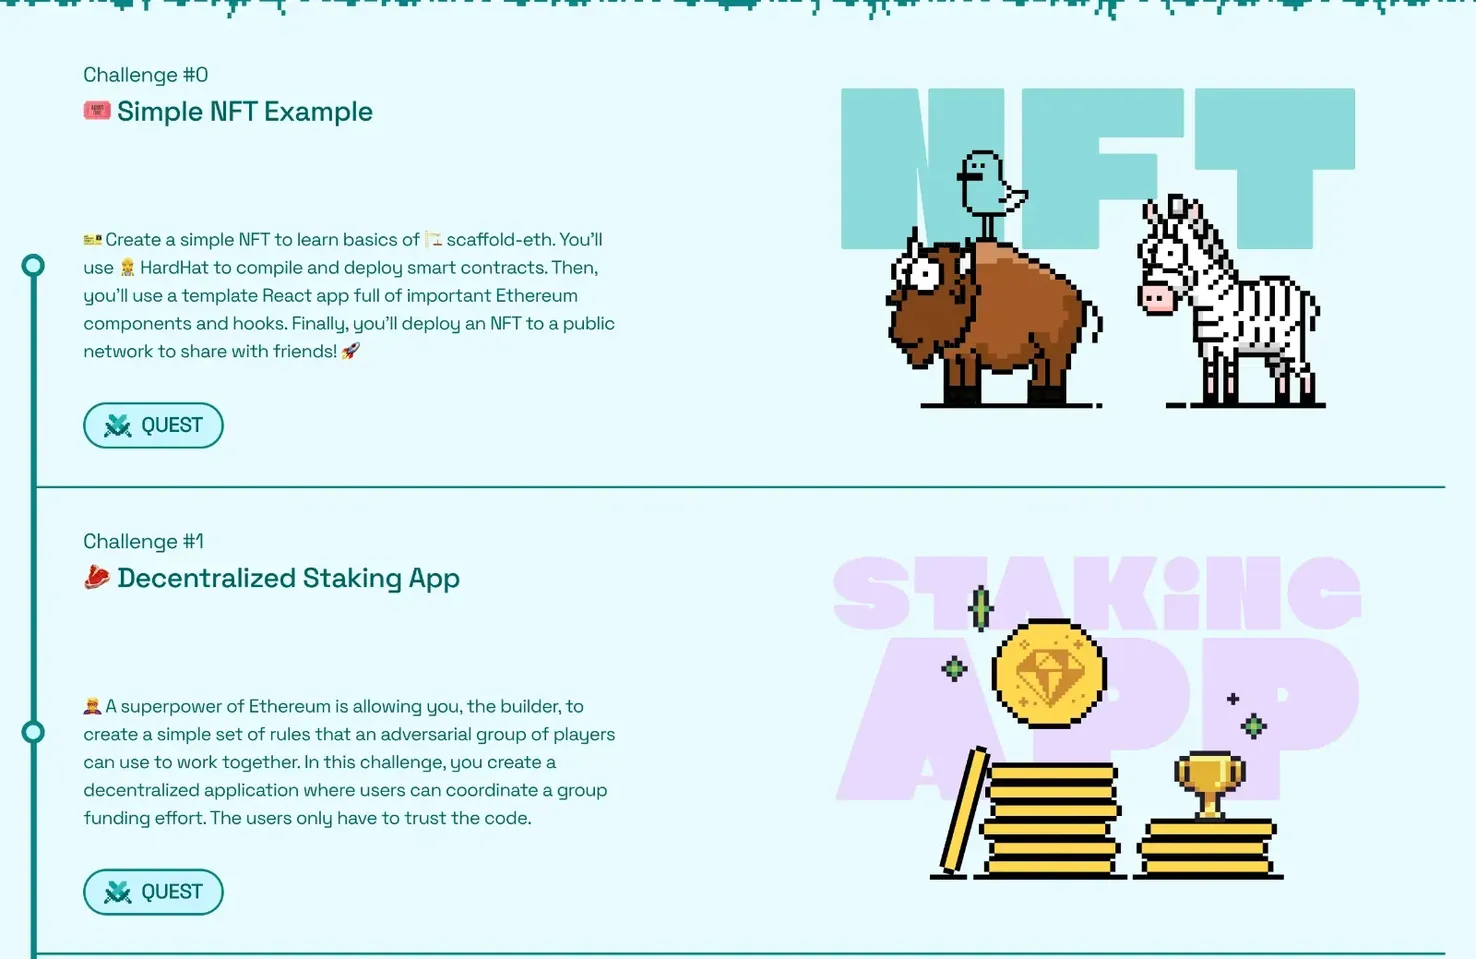
Are you confused by Web3 too? It’s OK; you’re not alone. To help us out, Speedrun Ethereum is a gamified course for learning to build on the Ethereum platform, with simple challenges like creating an NFT or a decentralized wallet.

Speedrun Ethereum

Superlist

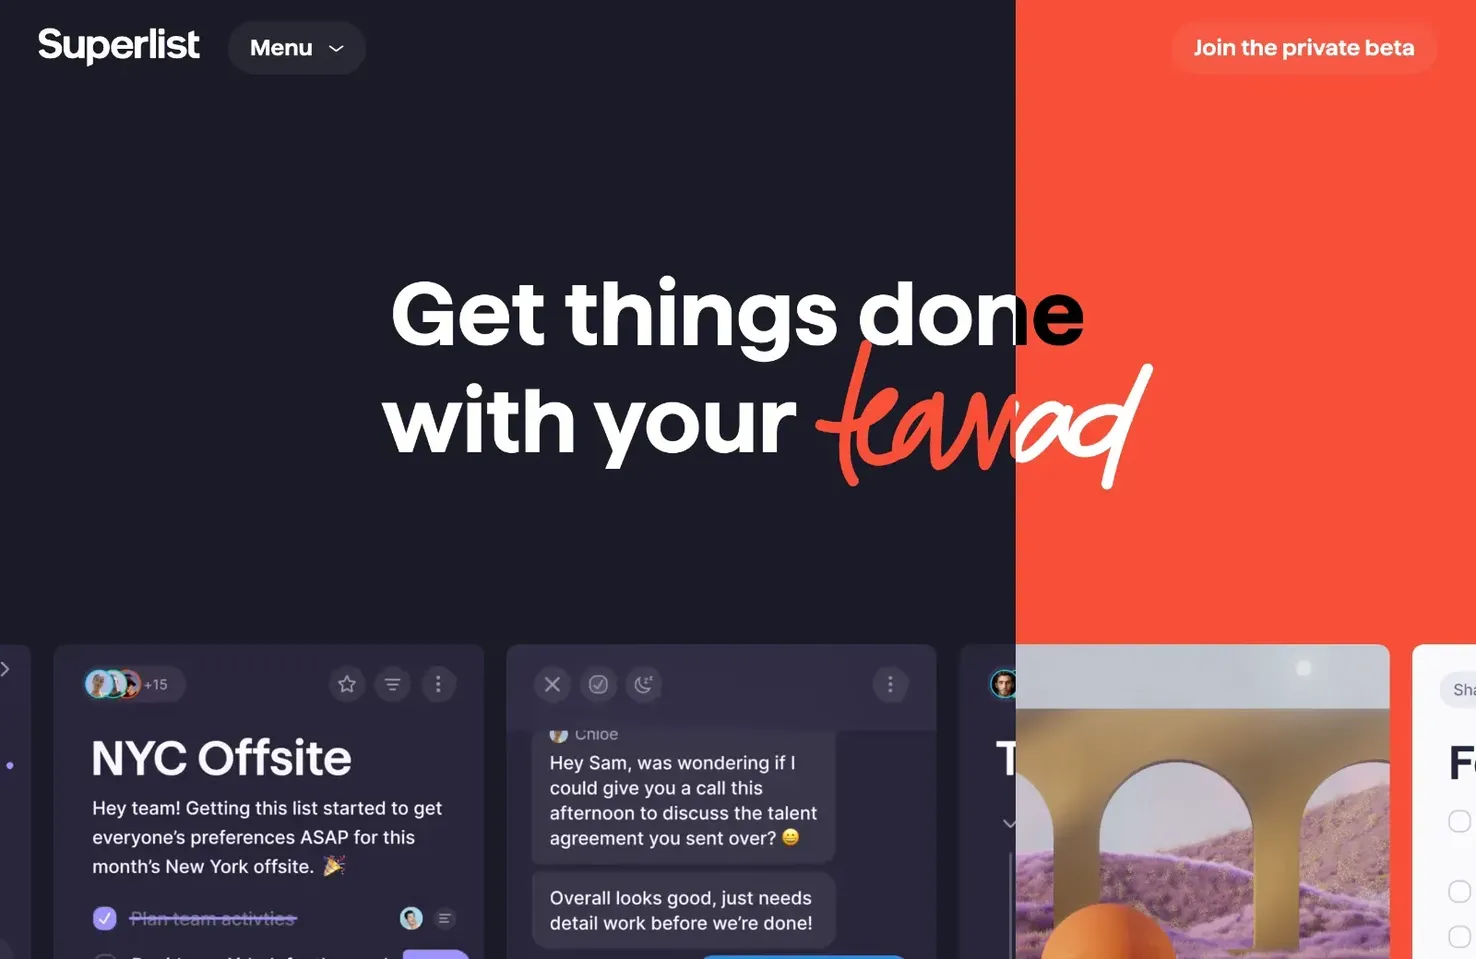
Superlist is a to-do list on steroids. It’s a collaborative tool that lets you and your colleagues, family, or friends organize tasks together. It integrates with Google, Slack, Github, Figma, and more. You can apply for the private beta now.

Superlist

Puddl Analytics

Puddl Analytics lets you track your OpenAI Analytics for free, so you always know how much your integration costs. Break down your usage daily, weekly, or monthly and use the insights to reduce your AI costs.

Puddl

60 Minimal UX Lottie Preloaders

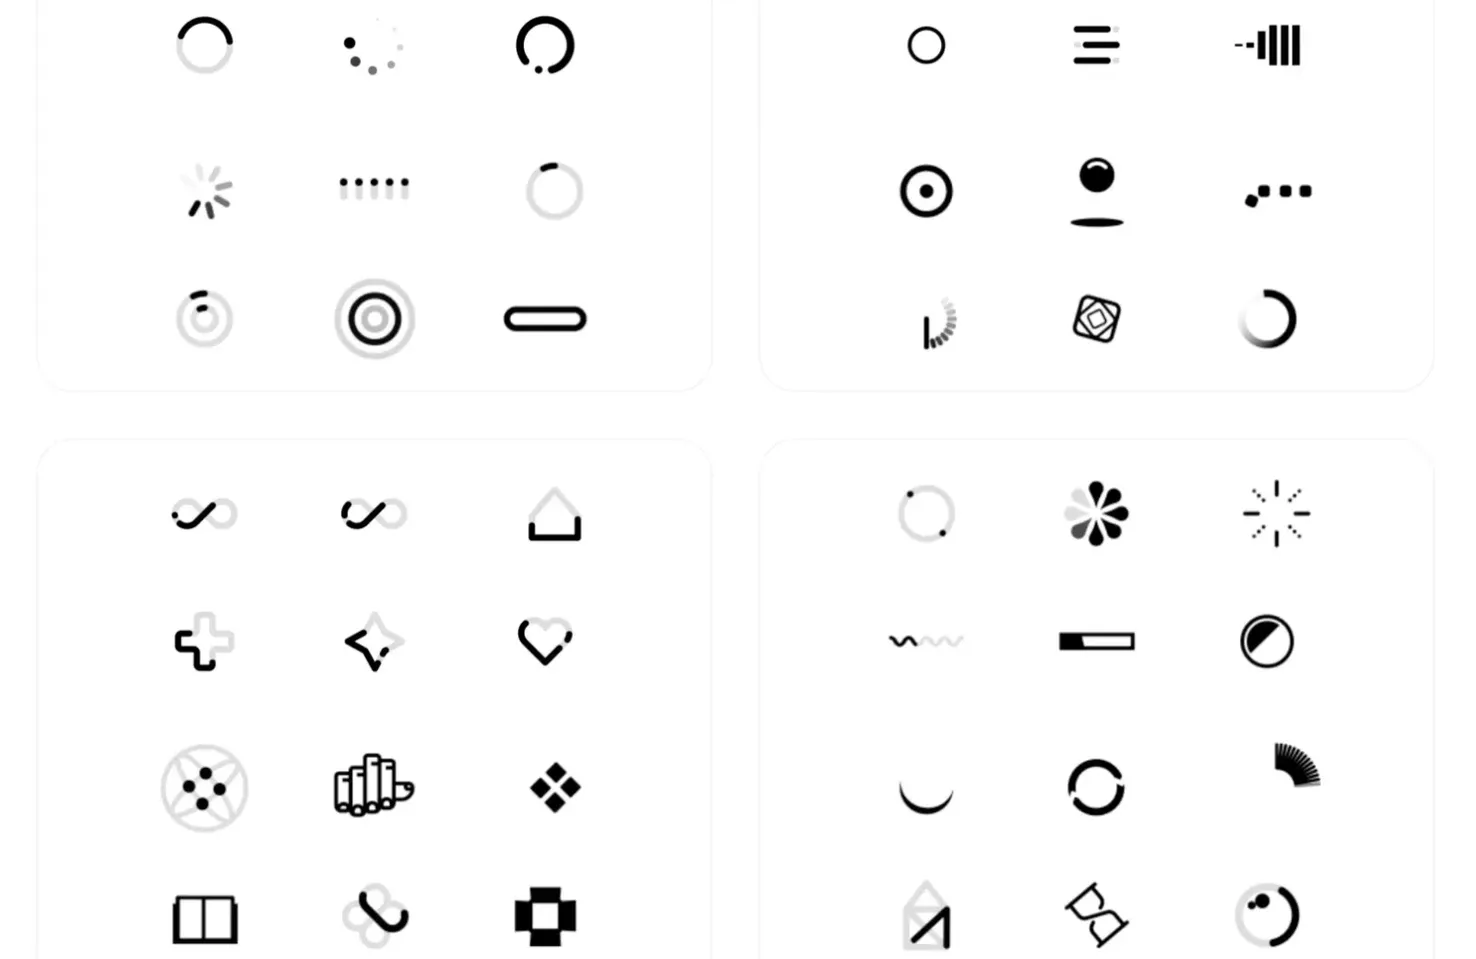
There’s nothing worse than waiting for an app or webpage to load. You can make it more enjoyable for your users by adding one of these excellent Lottie Preloaders to reassure them all is well and distract them while you load your content.

Lottie Preloaders

All-In Podcast AI

All-In Podcast AI is an extraordinary project that takes any text you supply and creates a sound file with a spoken version based on one of four different characters. It needs a little more diversity, but it’s an incredible project.

All-in Podcast

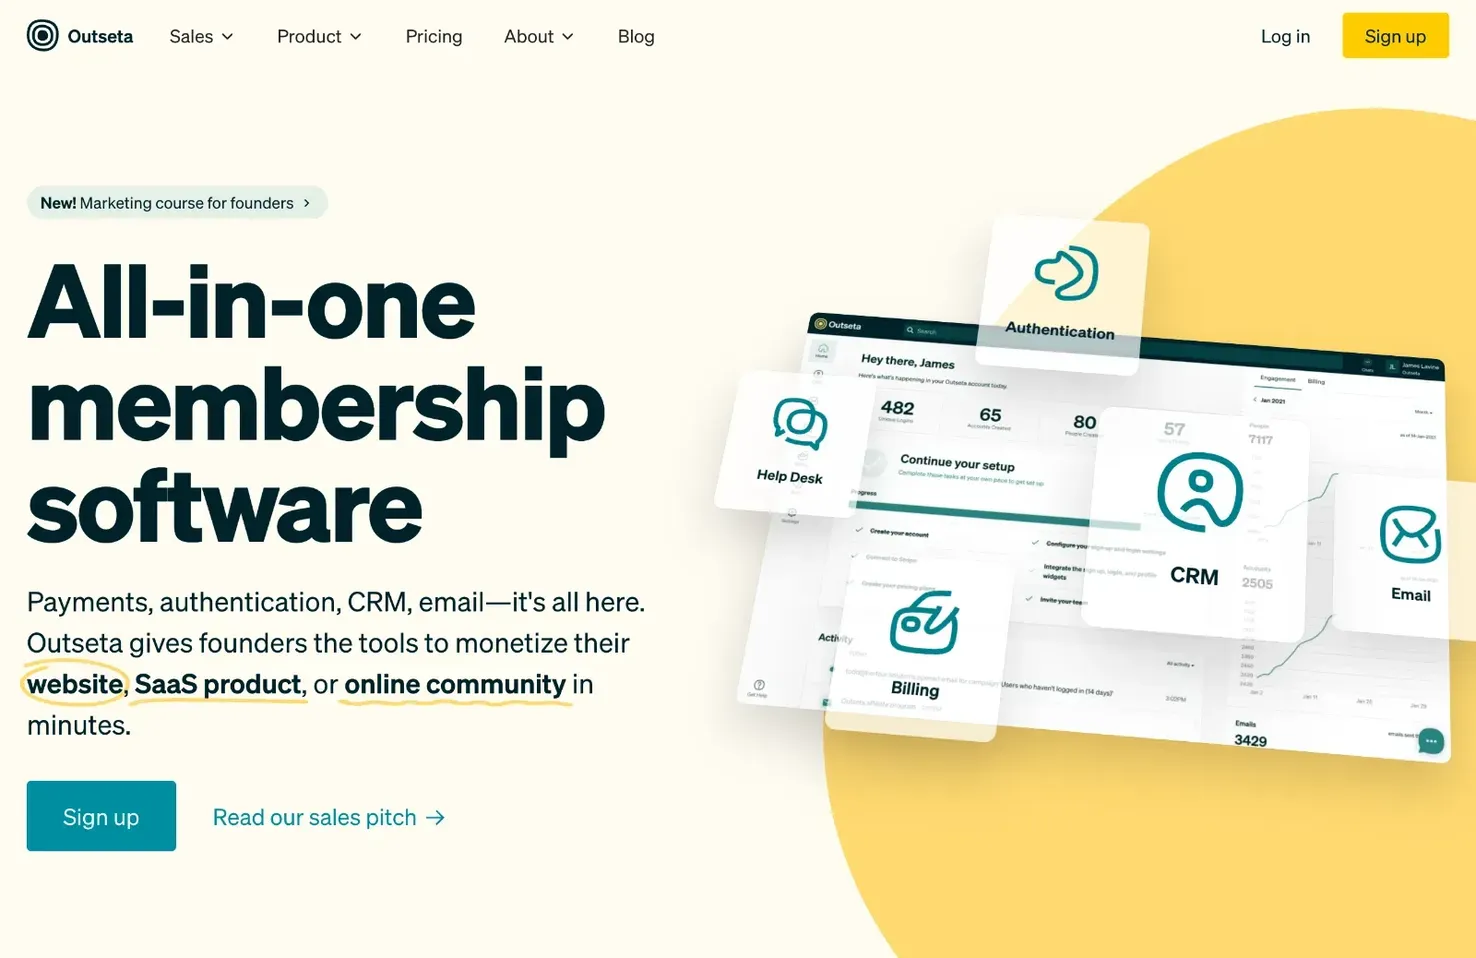
Outseta

Outseta is an all-in-one membership platform for websites that makes it easy to monetize your community. It includes a CRM, helpdesk, authentication, and billing system. Manage user data and transform your site into a source of recurring income.

Outseta

Dazzle Illustrations

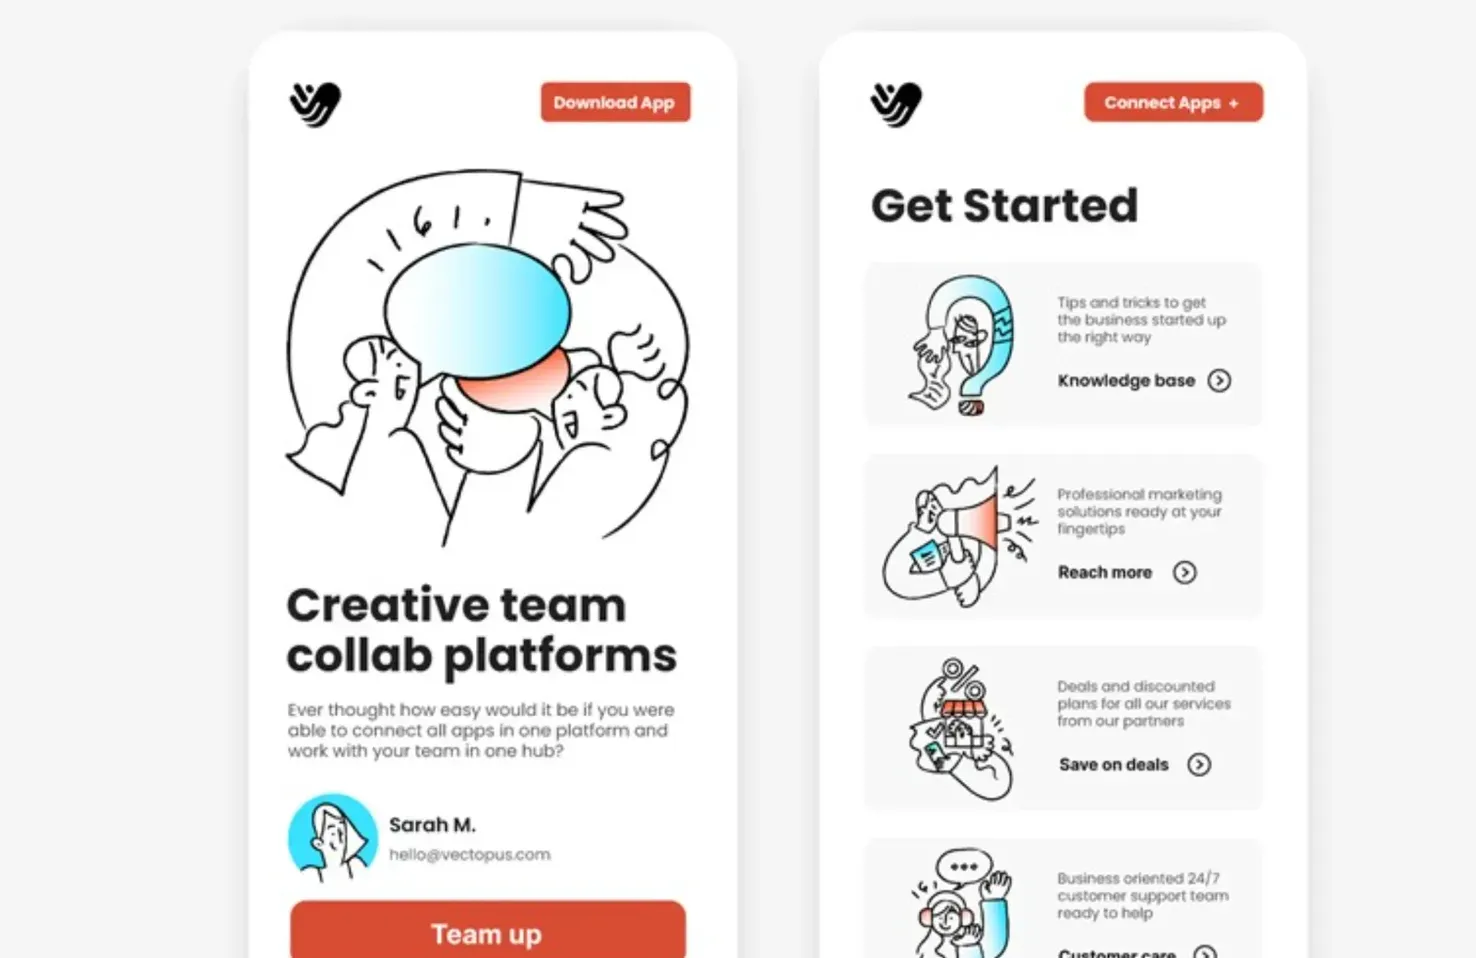
Dazzle Illustrations is a pack of 500 vector illustrations. The unique line-art style and simple colorways are modern and different but familiar and will add a high-quality touch to any app or website. They’re compatible with Illustrator, Iconjar, Figma, and more.

Dazzle Illustrations

Jot

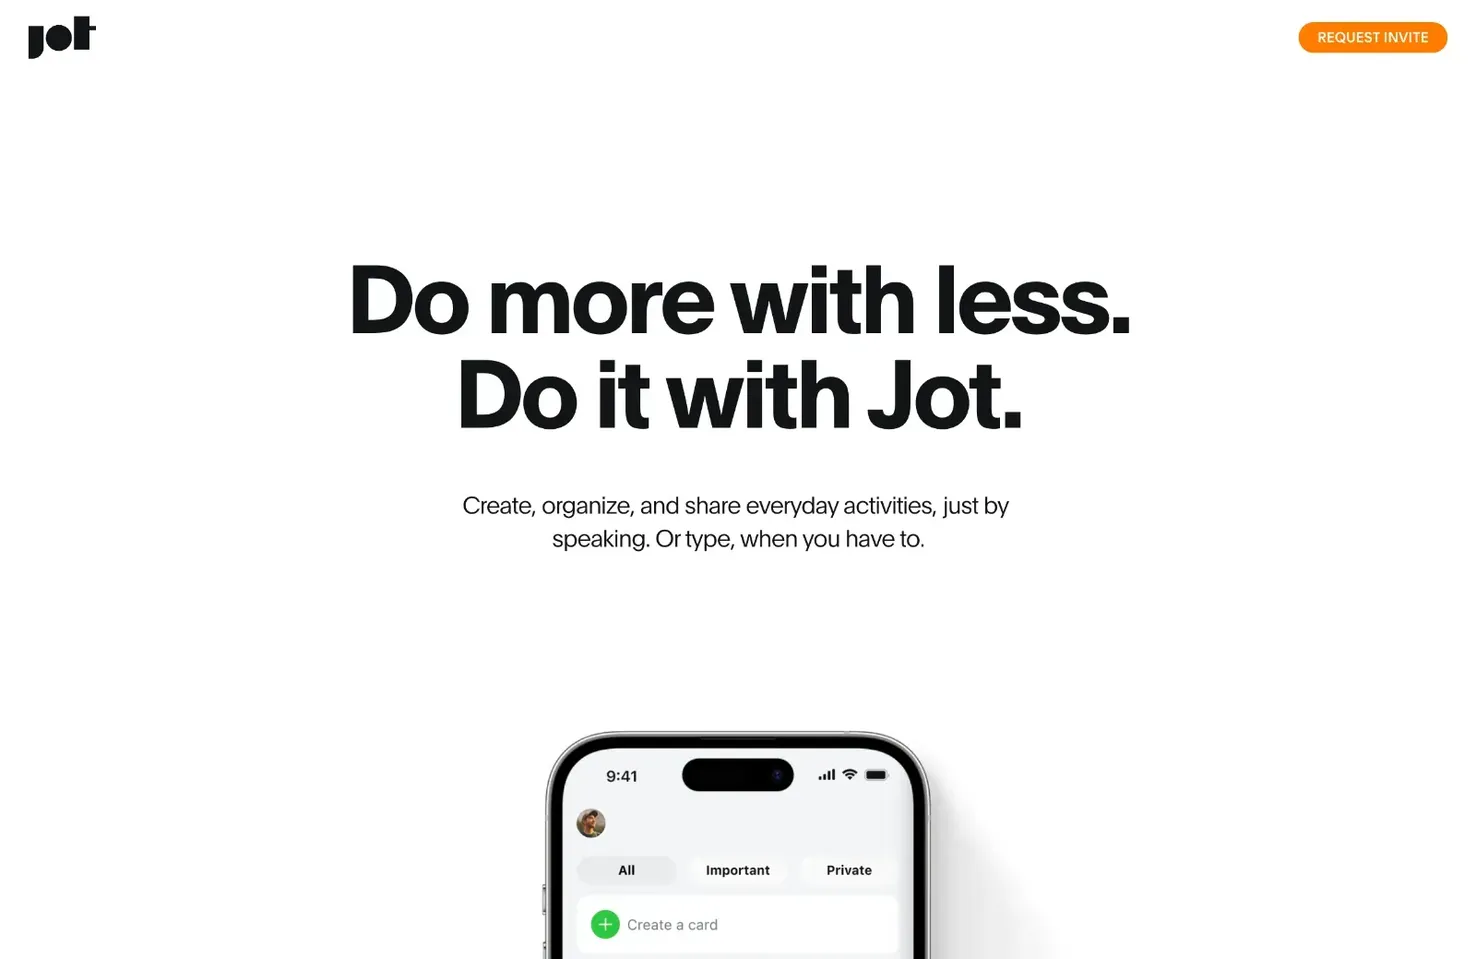
There are already more than enough to-do apps available online, so what makes Jot different? It uses top-grade speech recognition so that you can dictate your tasks and you can build collaborative chats around your tasks.

Jot

Disperse

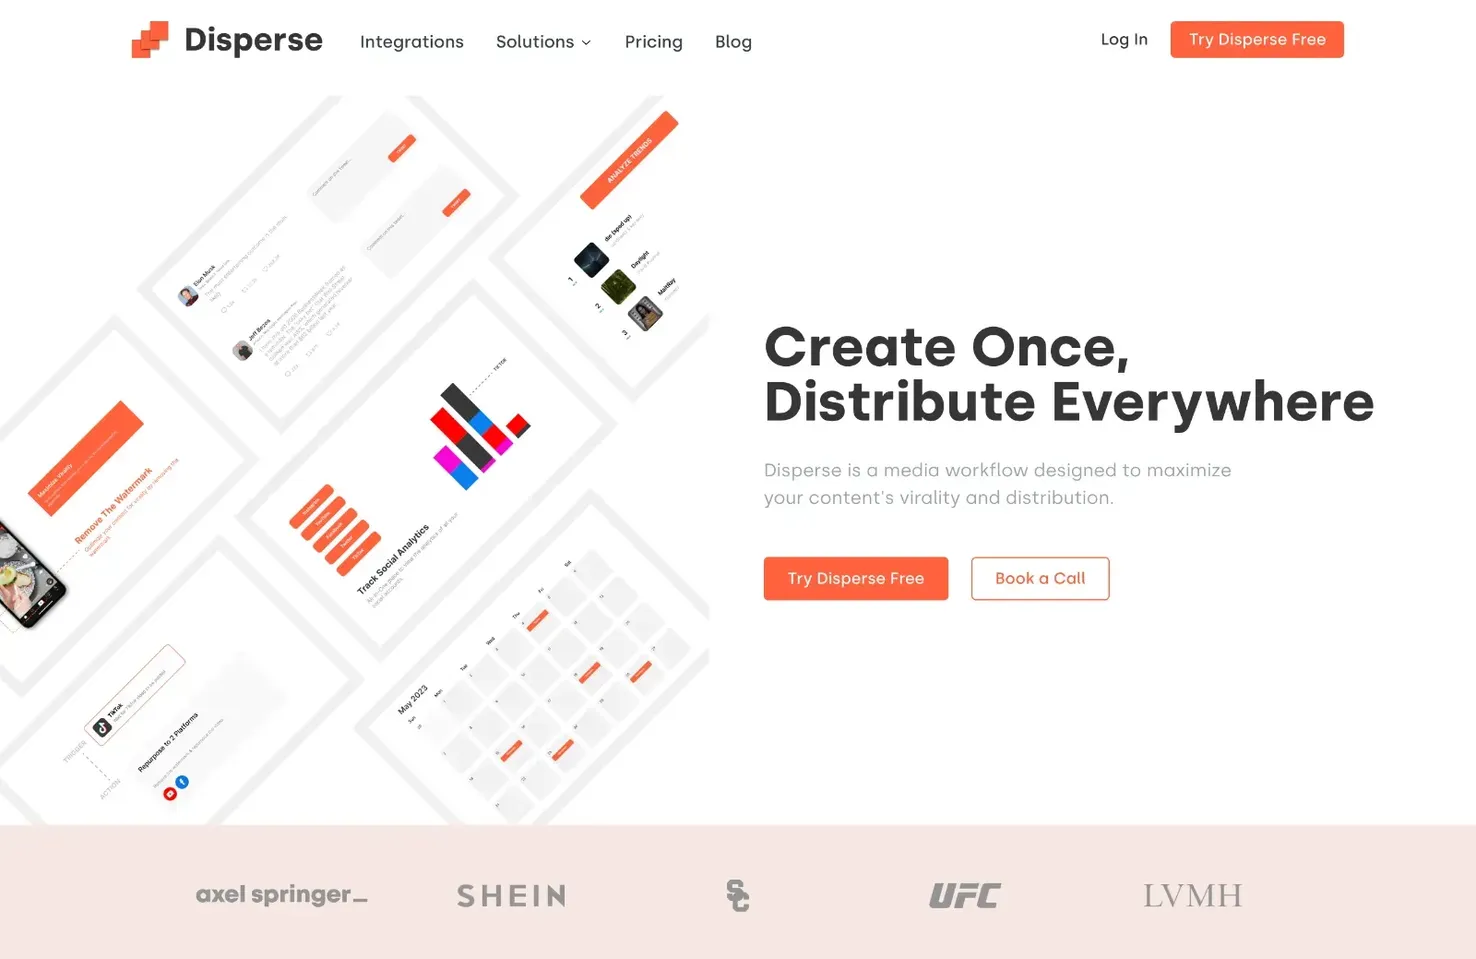
Disperse is a massive time-saver for anyone tasked with managing social media profiles. Create your content once, repurpose it, and repost it on all your channels. You can monitor results and reformat successful posts for different channels.

Disperse

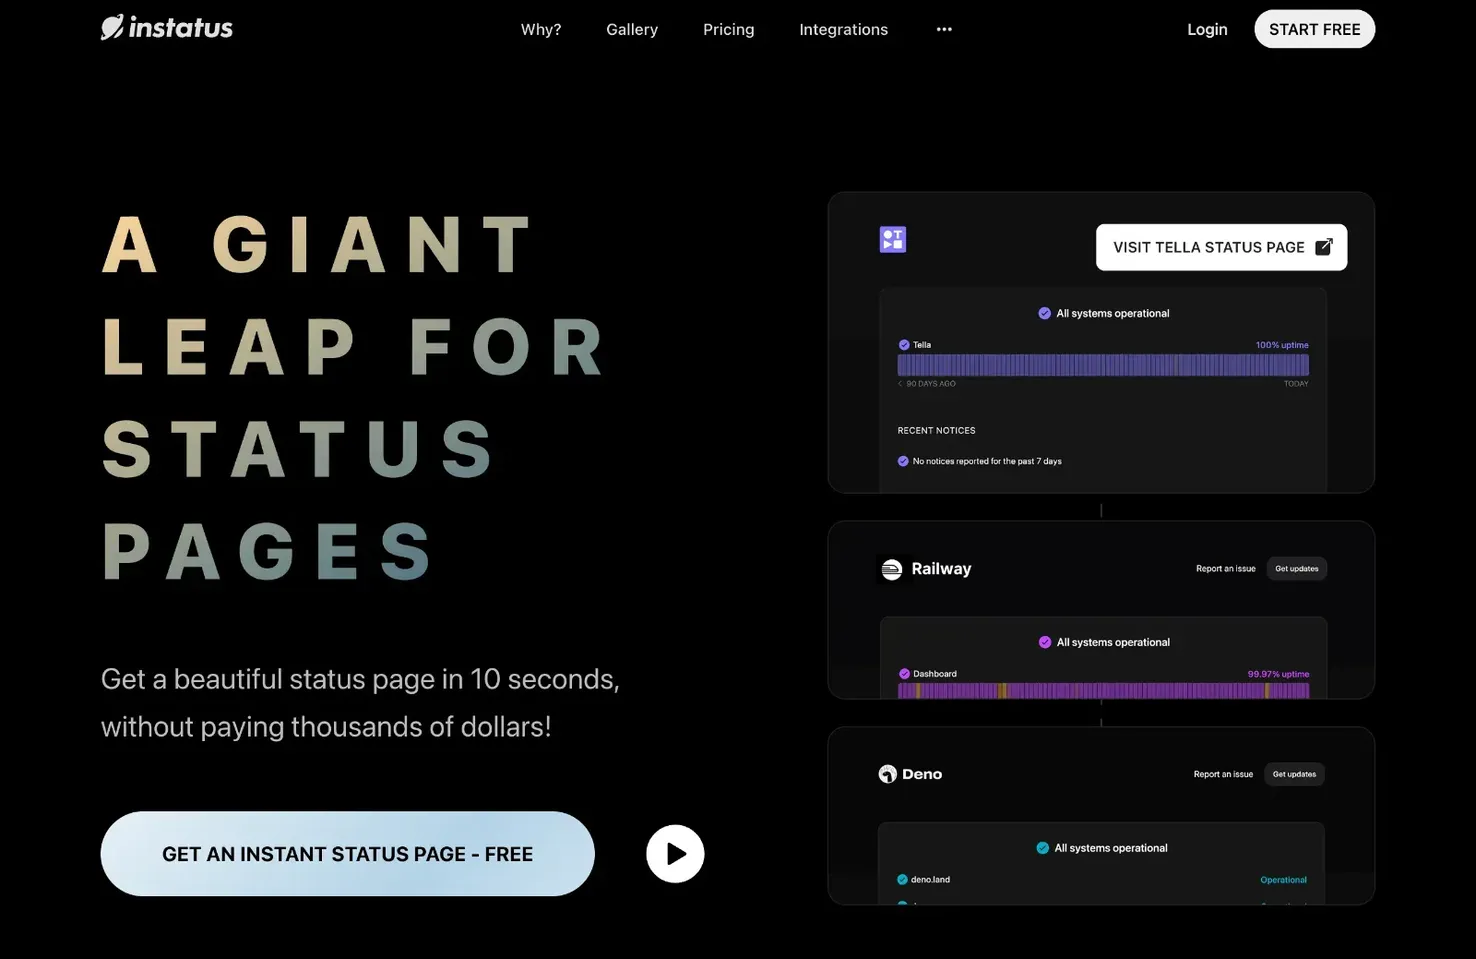
Instatus

Instatus is a fast, easy way to deploy a status page for your SaaS or app. Build trust with users, reduce support tickets, and let customers know when downtime will end. You can get started for free and have a status page ready in seconds.

Instatus

Uxcel

Uxcel is an enjoyable way to build your UX skills online. Learn key UX concepts, test yourself with professional-grade skills tests, become a better designer, get certified, and nurture your career. It’s free to get started.

Uxcel

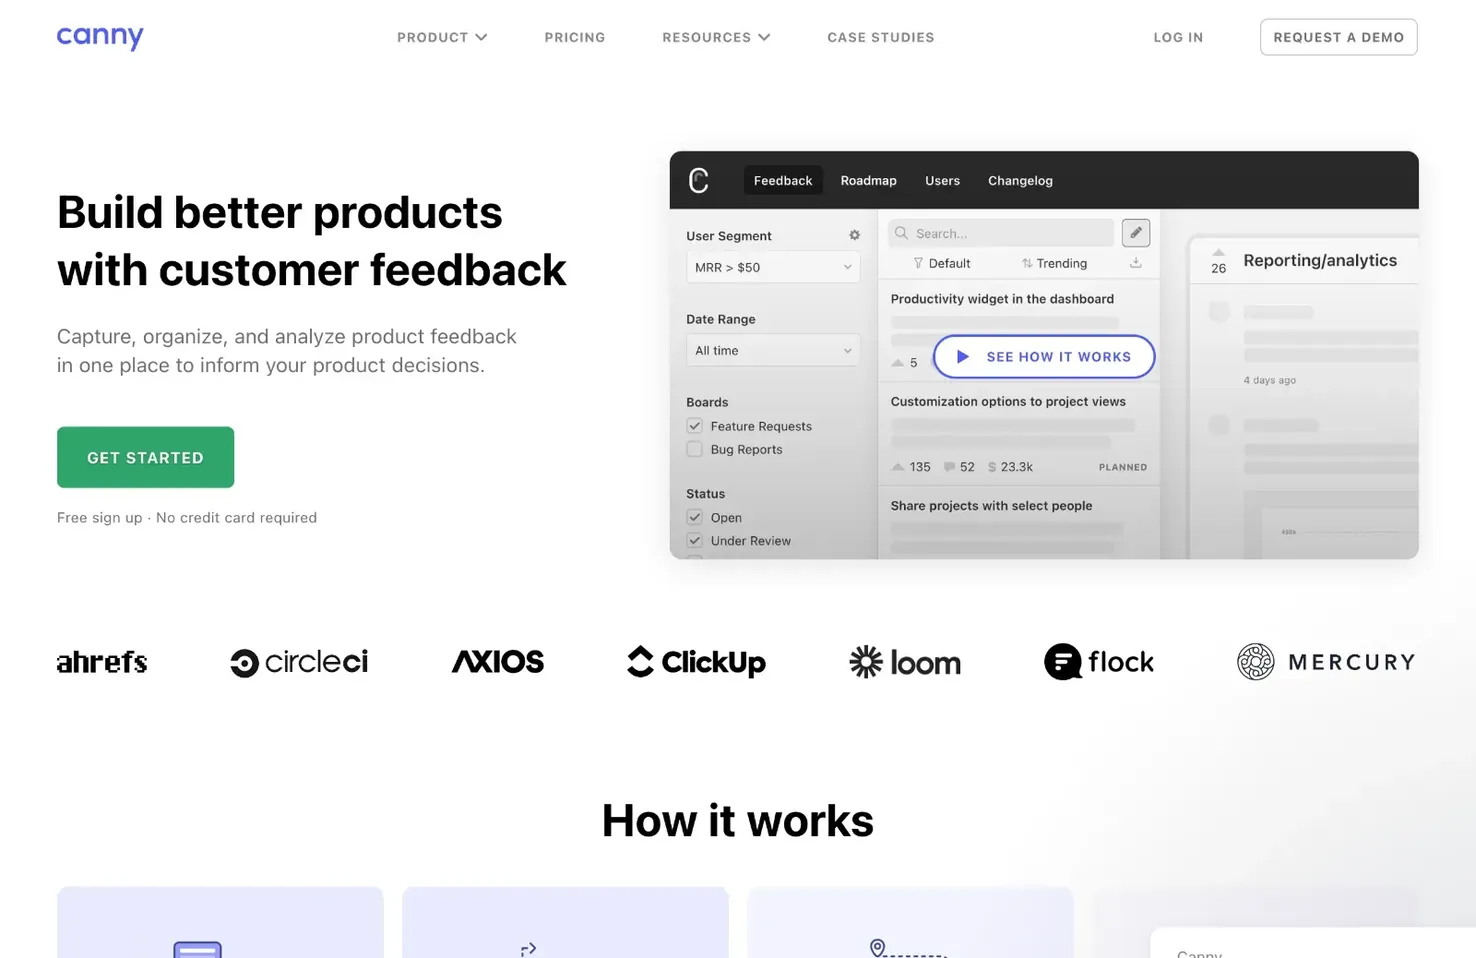
Canny

Use Canny to build better products by capturing and analyzing user feedback and sticking points. Track feature requests and problems, develop a comprehensive product roadmap and make better decisions.

Canny

Appwrite Cloud

Appwrite Cloud is a new platform providing a fully managed backend infrastructure for your applications. It has built-in security and auto-scaling to handle anything the web throws at it. You can apply to join the public beta now.

Appwrite Cloud

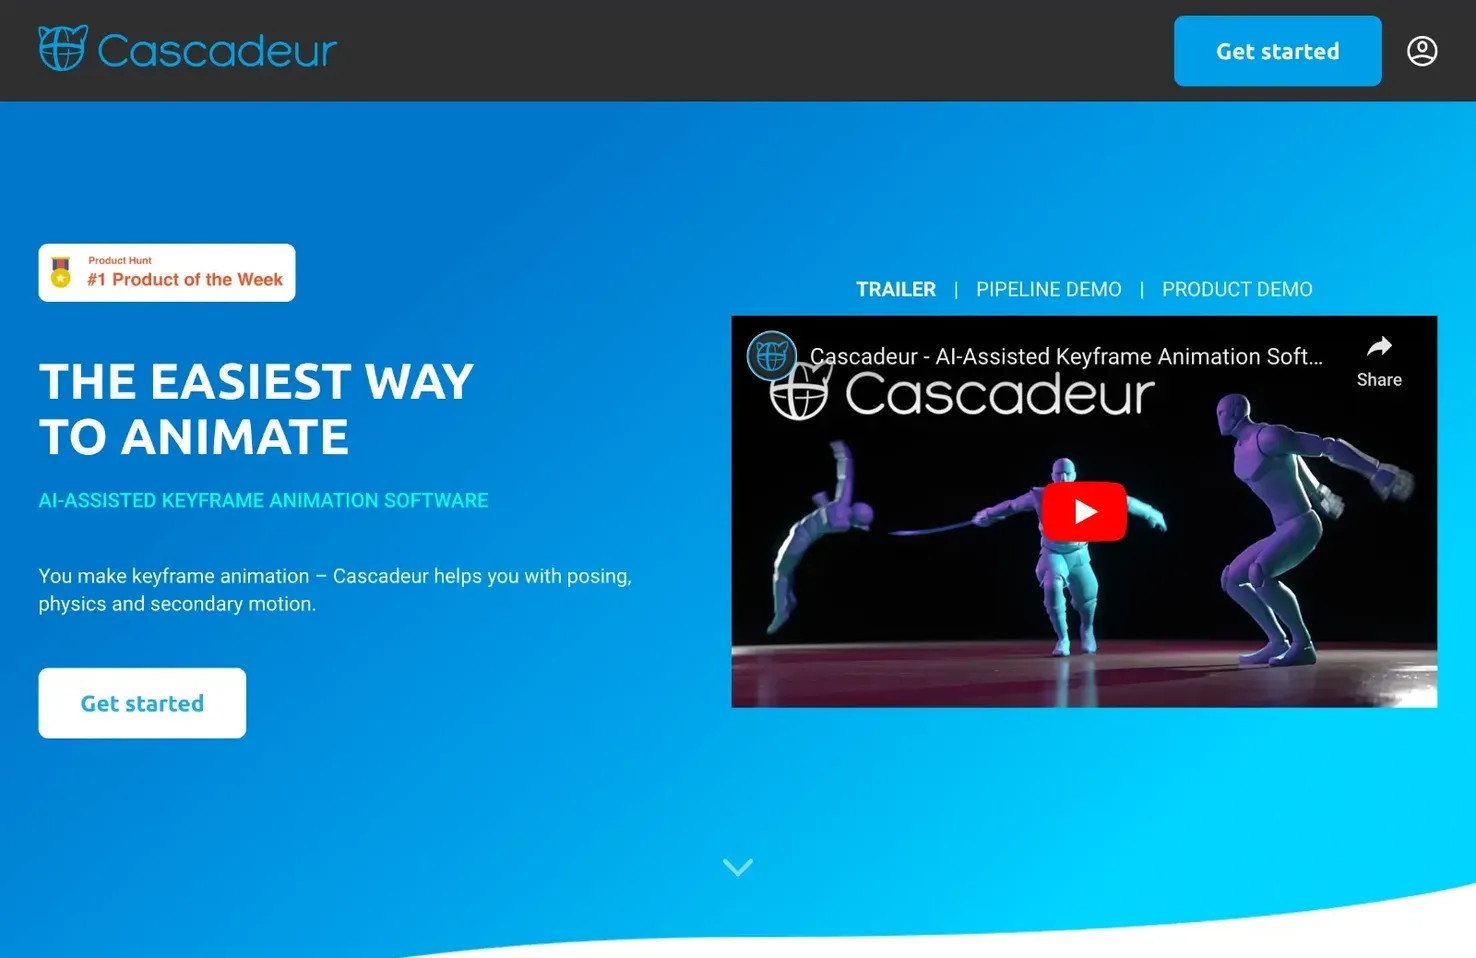
Cascadeur

Cascadeur is an animation app for designing the motion of humanoid characters. It uses AI to build realistic poses quickly, and the built-in physics ensures everything looks natural. It’s compatible with a wide range of general animation suites.

Cascadeur
08:07:00

Why use motion in your designs?


Motion design is like a magic wand that brings static objects to life. It’s a fascinating form of animation that combines graphic design elements to create visually captivating and dynamic content. You can find it all around you, from websites to mobile applications and even in videos.

What’s so amazing about motion design is its ability to tell stories and engage the audience. By adding animation, storytelling techniques, and captivating visual components, it creates immersive experiences that captivate people’s attention. It’s like a secret ingredient that injects excitement, meaning, and emotion into your content.

Thanks to our friends at LottieFiles for sponsoring this blog post!


You can tell better stories with motion

Motion design goes beyond merely enhancing the visual appeal—although motion definitely excels at that as well. It also plays a vital role in boosting engagement, driving conversions, and facilitating compelling storytelling.

Here’s a quick rundown of how motion helps to tell better stories.

MOTION EVOKES EMOTION

The effectiveness of motion design in evoking emotions stems from its ability to merge visual components and animation. This enables the communication of meaning, mood, and narrative. By capturing the viewer’s attention and engrossing them in an immersive encounter, it becomes a potent medium for evoking emotions.


MOTION INCREASES ENGAGEMENT

Motion design enhances engagement by utilizing dynamic and immersive visuals that effectively convey both meaning and mood. Additionally, it also fosters a sense of interactivity for the viewer - motion captures attention and holds viewer interest and engagement throughout the experience.


MOTION INCREASES CONVERSIONS

By capturing the viewer’s attention and establishing a sense of interactivity, motion design has the potential to amplify conversions by effectively conveying meaning and mood. By keeping viewers engaged and interested, it becomes an efficient way to increase the likelihood that they’ll take the action you want them to.


MOTION TELLS YOUR STORY BETTER

Motion design serves as an instrument for crafting a compelling brand narrative and stimulating purchases. By utilizing animation and storytelling, it effectively communicates meaning and mood, forging an emotional bond with the audience. Using motion design can capture attention and cultivate brand loyalty, ultimately enhancing the brand story and driving consumer engagement.


Adding motion to your prototypes and products

In today’s design and innovation landscape, incorporating motion into prototypes has become paramount. Gone are the days when static representations could effectively convey a product’s potential.

By infusing prototypes with dynamic animations, interactions, and transitions, designers can bridge the gap between imagination and reality. Prototyping is a fundamental aspect of the design and development process, serving as a creative tool that brings ideas to life - it is almost like creating a sneak peek or early version of something you want to make.

Prototypes can take various forms, from simple sketches and wireframes to interactive and high-fidelity designs. Here are some advantages of adding motion into the prototyping process.

  • Enhanced user experience: Adding motion to prototypes allows designers to simulate real-world interactions, gestures, and transitions. This also gives stakeholders a more immersive and realistic experience of the product. Moreover, adding motion enables designers to optimize the user experience, anticipate user behavior, and identify potential usability issues early on.
  • Improved communication: Motion in prototypes helps designers effectively convey their ideas, vision, and design concepts to stakeholders. It provides a more engaging and dynamic representation of the product. This, in turn, makes it easier for others to understand and provide feedback.
  • Early detection of flaws: Animating interactions and transitions in prototypes helps in identifying design flaws, usability issues, and potential problems that may not be apparent in static designs. By observing how users interact with the animated prototypes, designers can make informed decisions and iterate on the design to improve its functionality and usability.
  • Competitive advantage: Incorporating motion into prototypes can give a product a competitive edge by capturing users’ attention and creating a memorable experience. Dynamic animations and engaging interactions help the product stand out, generate excitement, and leave a lasting impression on potential users. Thus, giving it an advantage in a crowded market.

Embrace motion with the right tool

Motion breathes life into concepts, immersing stakeholders in a tangible and engaging user experience that allows for better decision-making throughout the development cycle.

Thanks to the advancements in design software like Figma, the task of adding motion to prototypes and products has become much easier and more accessible. Now, designers of all levels can effortlessly incorporate motion directly into their prototypes using Figma’s integrated features, revolutionizing the way their designs come to life.